Access permissions
To manage access to your tenant, open "My account" tab by clicking on your avatar in the top right corner of the header, and select Access permissions from a drop-down menu:
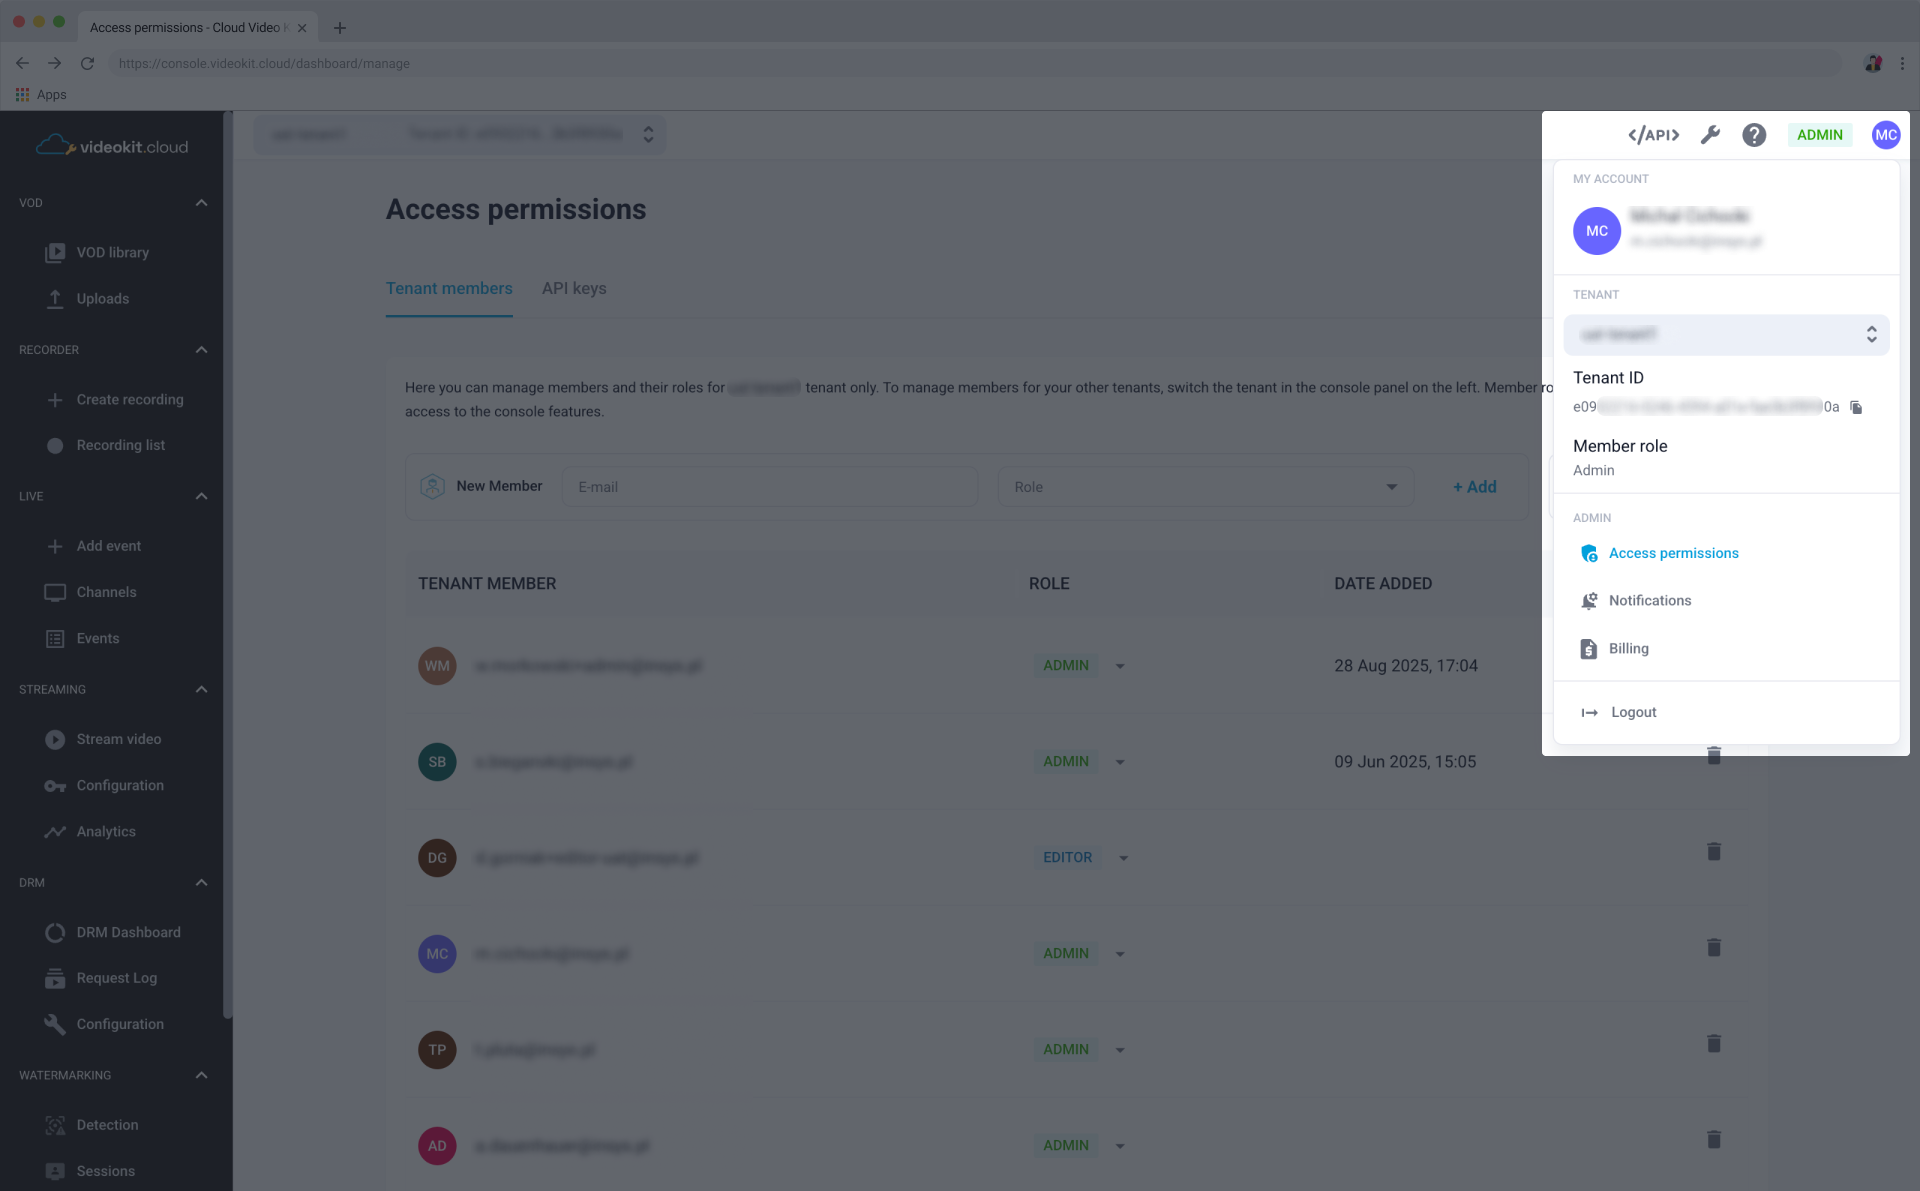
The access permissions section is available for Admin users only.
Tenant members
In this tab, you can manage the users who have access to the currently selected tenant. Member roles define different levels of access to the console features, such as managing VOD libraries, live events, or system configurations.
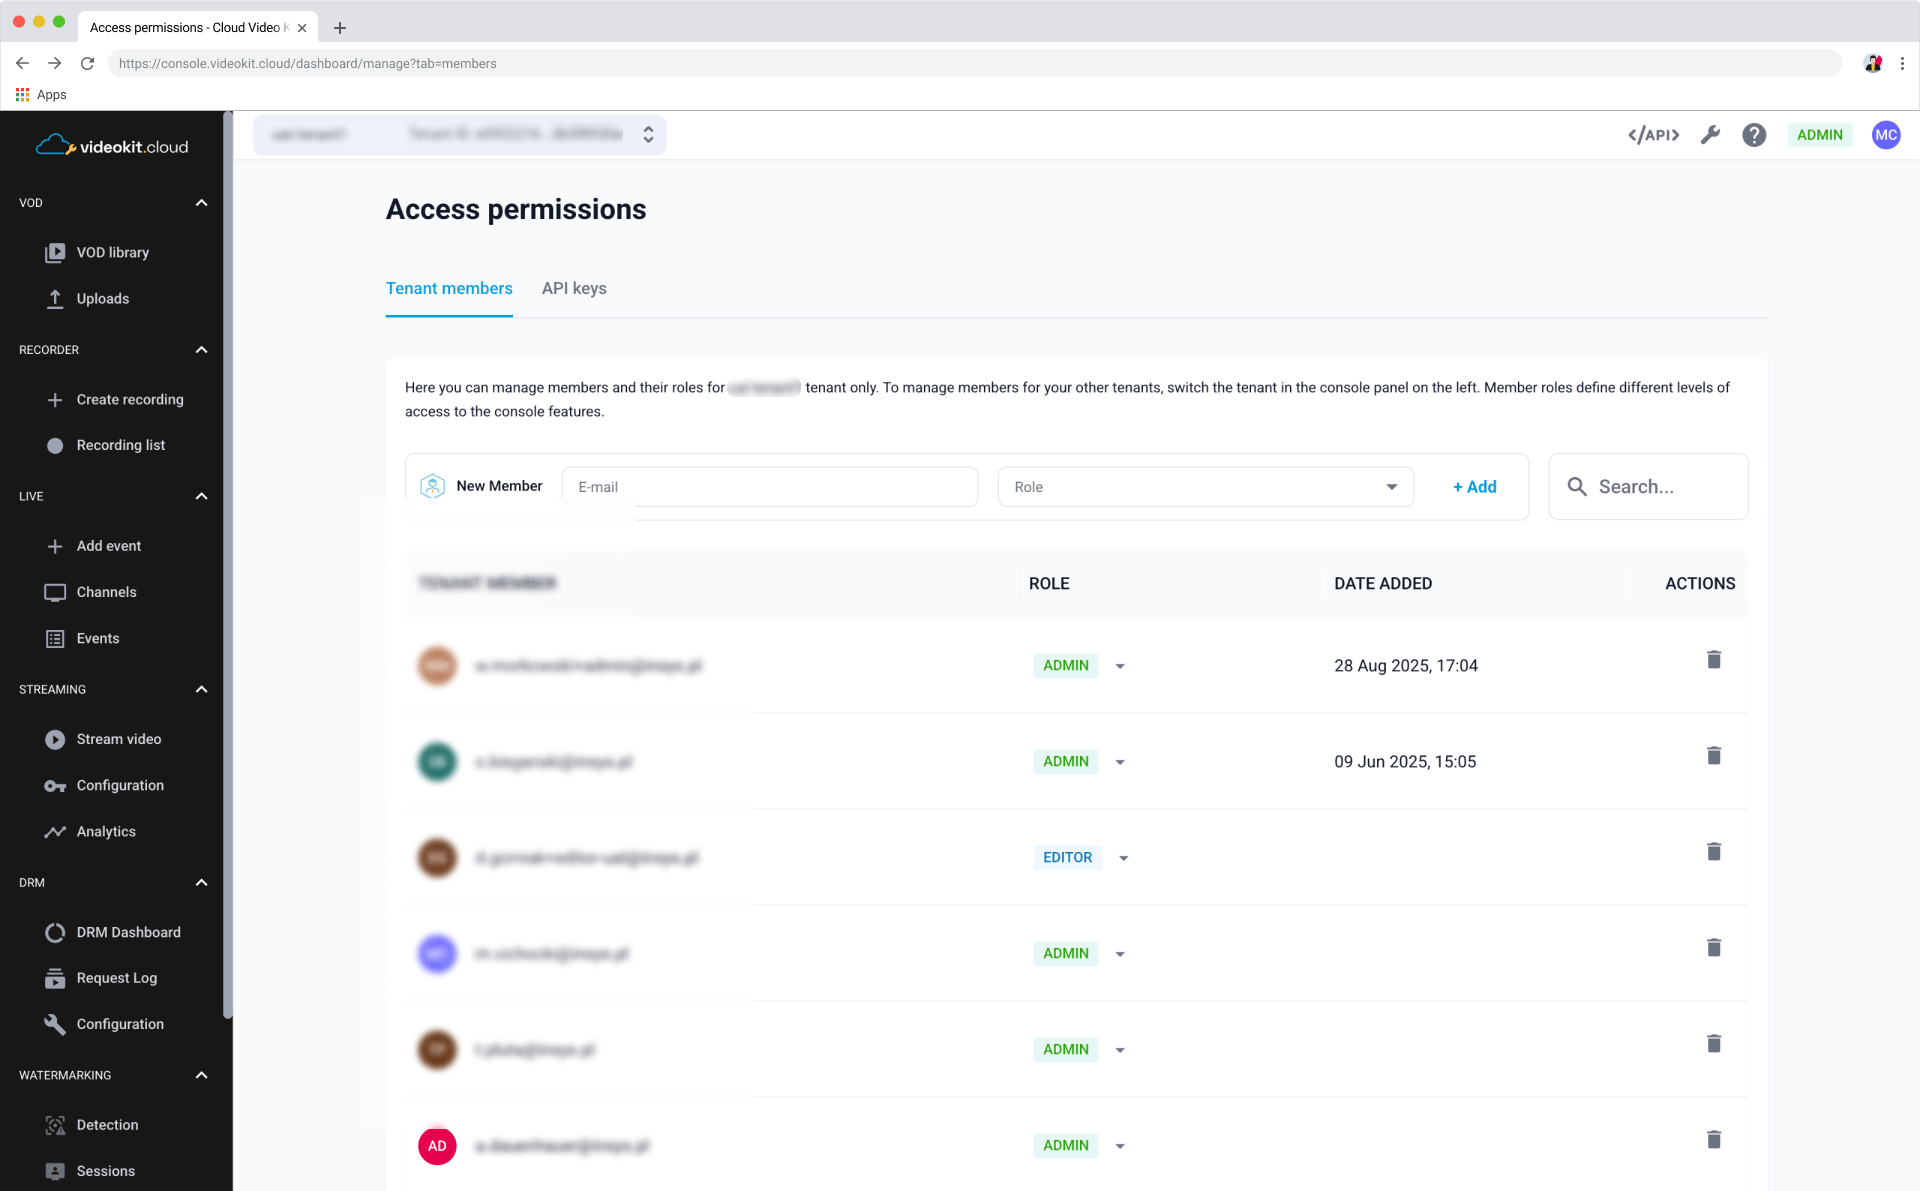
Adding a new member
To invite a new user to your tenant, follow these steps:
- Locate the New Member bar above the member list.
- Enter the user's E-mail address in the input field.
- Select a Role (e.g., Admin, Editor) from the drop-down list.
- Click the + Add button.
Managing existing members
- Search: Use the Search... bar on the right to quickly find a specific member by their email address.
- Changing Roles: You can update a member's level of access by selecting a new option from the drop-down in the Role column.
- Viewing History: The Date Added column shows exactly when each member was granted access to the tenant.
- Removing Members: To revoke a user's access, click the trash bin icon in the Actions column.
API keys
In this tab, you can manage API keys created for the currently selected tenant. Learn about API keys and how to manage them in the console.

How API keys work?
API keys are a recommended way of authenticating calls to Cloud Video Kit API methods (read more: Authorization). You can manage different levels of access to the Cloud Video Kit features by assigning roles to your API keys. This is the same set of roles you can assign to the tenant members. You will find more information in the Roles & their permission scopes article.
You can generate as many API keys for your tenant as you need.
Careful key distribution enhances the security of your content. You can modify the API keys permission scope or delete API keys from your tenant at any time.
Generating & viewing API keys
To generate a new API key for your tenant, follow the steps below:
- Go to the Settings page in the Admin module.
- Switch to the API key tab.
- Find the New API key window above the table, fill in the Name and select a Role from the drop-down list.
- Click the
Generatebutton.
Generated API keys will be listed in the table below. You can also find API keys list on the API Cheatsheet page and on the Configuration page in the DRM module.
Editing API keys
As an Admin, you can change an existing API key’s name and its role. You can’t change the API key value.
Changing key Role results in changing the access scope assigned to this key. Make sure it's not used in any integration that requires higher scope access.
To edit an API key for your tenant, follow the steps below:
- Go to the Settings page in the Admin module.
- Switch to the API key tab.
- Find the API key you wanted to edit in the table.
- Click the
pencilicon in the Actions column. - Change API key Name and/or select a different Role from the drop-down list.
- Approve the changes using the
checkicon in the Actions column. - If you changed the API key role, type in API key Name in the modal and click the
Change rolebutton.
Deleting API keys
Deleting API keys results in an immediate key invalidation. This feature might prove useful if you would like to enhance security by implementing key rotation or in case of a breach.
To delete the API key for your tenant, follow the steps below:
- Go to the Settings page in the Admin module.
- Switch to the API key tab.
- Find the API key you want to edit in the table.
- Click the
trash binicon in the Actions column. - Type in API key Name in the modal and click the
Delete keybutton.