Live
The live module enables the management of live channels and live events. This brief guide will show you how to set up, schedule a live event and use it for streaming your content in the video player.
Live module functionalities may be further extended using the Recorder module, which enables recording events during their transmission.
Add Event
On this page you can add a new event. You can either set up a One-time event or Event series. enables setting up a one-time event or Event series.
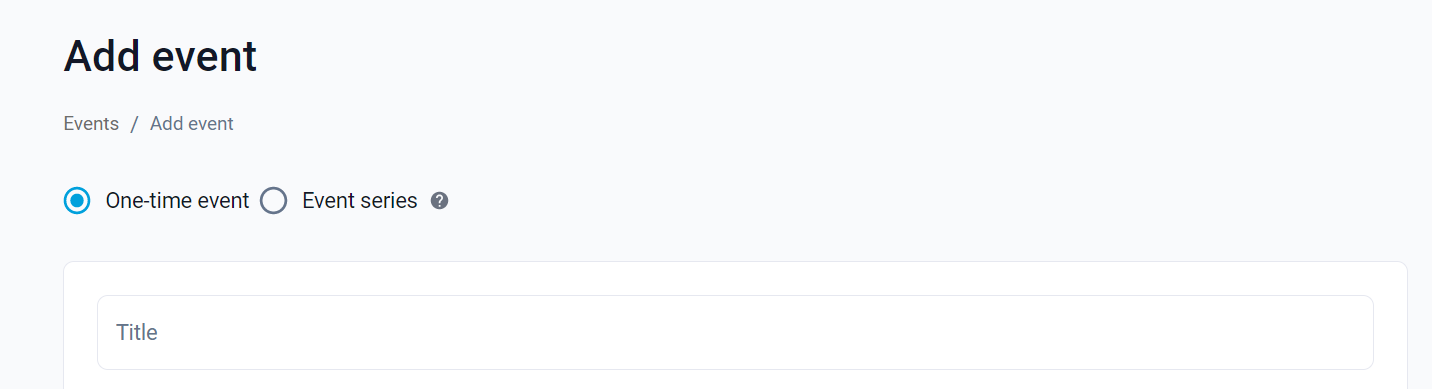
One-time event
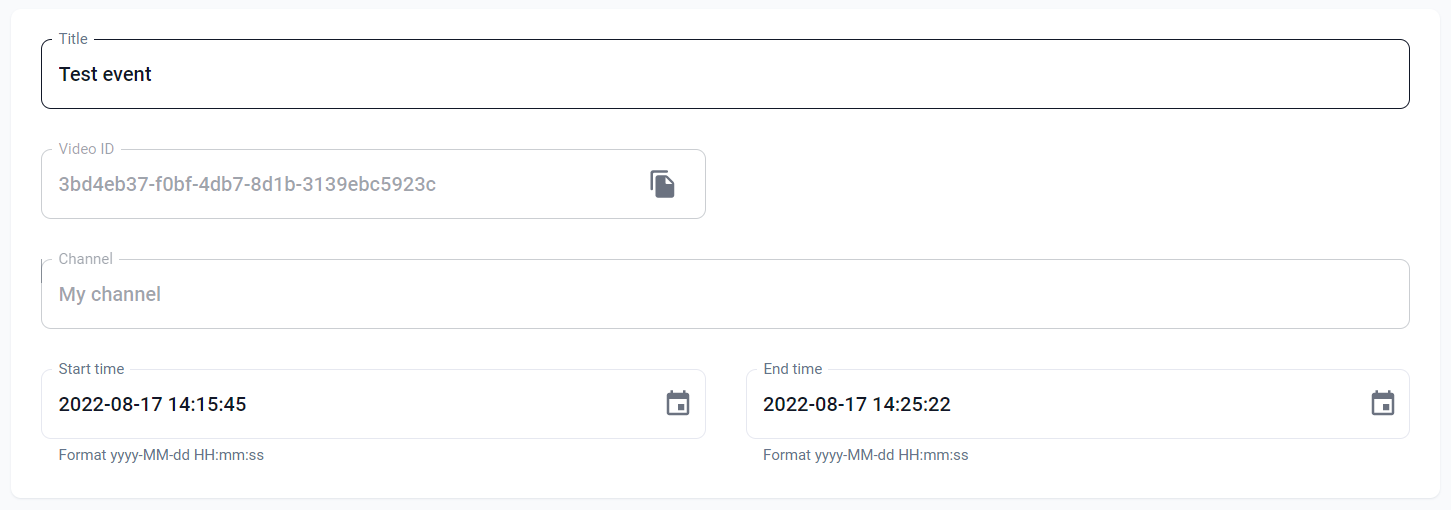
Fields and options:
- Title
- Channel - a dropdown list of configured channels
- Activate channel for this event (optional) - this option turns the channel on before the start time of the scheduled event and turns it off after the event
- Start time - hour and date
- End time - hour and date
- Output profile (optional) - here you can select the output format in which the Event will be recorded after the Event ends. Leave empty if no recording is required, or if you want to manually cut out a piece of recording after the event has finished
Events serie
First, fill out parameters for the whole event series (these parameters apply to each event of the series):
- Title
- Title suffix - added at the end of the Event series title with the date, when the event goes live
- Activate channel for this event (optional) - this option turns the channel on before the start time of the scheduled event and turns it off after the event
- Start time - hour only
- End time - hour only
- Output profile (optional) - here you can select the output format in which the Event will be recorded after the Event ends. Leave empty if no recording is required, or if you want to manually cut out a piece of recording after the event has finished
Then, set the event series schedule:
- Start date - start of the whole Event series
- End date - end of the whole Event series
- Tiles with days of the week - clickable tiles that enable you to mark the days when the events of the series take place.
Automatic channel activation
By clicking the ‘Activate channel for this event’ checkbox, you instruct Channel to turn on right before the Start time of the Event and turn off right after Event’s End time.
By default, it’s 15 minutes before and 5 minutes after the event. If the gap between the end time of one event and the start time of proceeding one is shorter than 30 minutes the channel will not turn off after the first event.
To change the parameter for when the channel turns on and off,please consult the Big Blue Marble administrator.
Events list
The events page organizes live events. Schedule live events and automate recording. You can browse the events in two modes - either by List view, or Calendar view. To switch between modes, use the tabs below ‘Events’ title.
List view
The table contains all the live events created in the Live module. It consists of:
- Title
- ID
- Channel
- Start time
- End time
- Status (Scheduled, Finished, Error)
- Actions (Edit and Delete icon)
Here you can manage the events in several ways:
- Add event - use the Add event button
- Delete event(s)
- delete a single event by clicking the Delete icon in the Actions column
- delete one or more events by checking the checkboxes and clicking the Delete button above the table
- View event details
- click the Edit icon in the Actions column
- click the Title or ID of the event
- View channel details - click the channel name in the Channel column
Events can be filtered by:
- Channel
- Start time
- End time
- Status
- Name (search bar)
To change the number of assets displayed on one page, select the value in the dropdown list next to "Rows per page:", below the table.
Calendar view
Using a calendar view you can see the scope of the whole month. By default, it displays events of the current month and only one channel.
Here you can manage and navigate the events calendar in several ways:
- Browse through different months
- use the ‘Month’ dropdown
- use the arrows placed next to the ‘Month’ dropdown
- use ‘Today’ button to easily navigate to the current month
- Change channel filter - choose which channels you want displayed on the calendar. Each channel is color-coded to separate the events scheduled for different channels.
- use a ‘Select channel’ and checkboxes on the dropdown list to choose which channels you want to be displayed in the calendar.
- use the ‘x’ icon on the channel filter chips to clear one of the filters
- Add event
- use the ‘Add event’ button - opens an empty, new ‘Add event’ page
- click the ‘+’ icon displayed on hover for any ‘empty’ day in the calendar - opens a new ‘Add event’ page with the date of the specific day filled out
- click the ‘+ Add event’ displayed on hover, at the bottom of the listed events in a day - opens a new ‘Add event’ page with the date of the specific day filled out
- View event details - click on the event title shown in the calendar
View event
Event details
This view shows the details of the asset and gives an option of editting some of the event's parameters.
⚠️ Changing the Start or End time of the event impacts the HLS/MPEG-DASH manifest of the video asset! After saving the event with a changed start or end time, the manifest in Endpoints will change accordingly.
Created recordings
This section features all the recordings made in the span of the event.
Note that it is possible to have overlapping events on one channel. So if the time set for the recording matches the timeframe of two or more events, it will be displayed in 'Created recording' section for all of them.
Endpoints
List of all endpoints for the event. They can be used for streaming the event while using a third-party video player on your website. The list of available endpoints will vary, depending on the configuration of the Channel.