Channels
Learn how to manage your channels by creating new channels and deleting them. Channel management is available for Admin users only. Editors and Viewers have read-only access to channel details.
Creating channels
You can create new channels by hand in two ways - by creating channels from the ground up, or by duplicating configuration parameters from the channels you have already created in the console.
You can have up to 10 channels set up by default. To change the channel limit, please contact our support team.
Create a channel from scratch
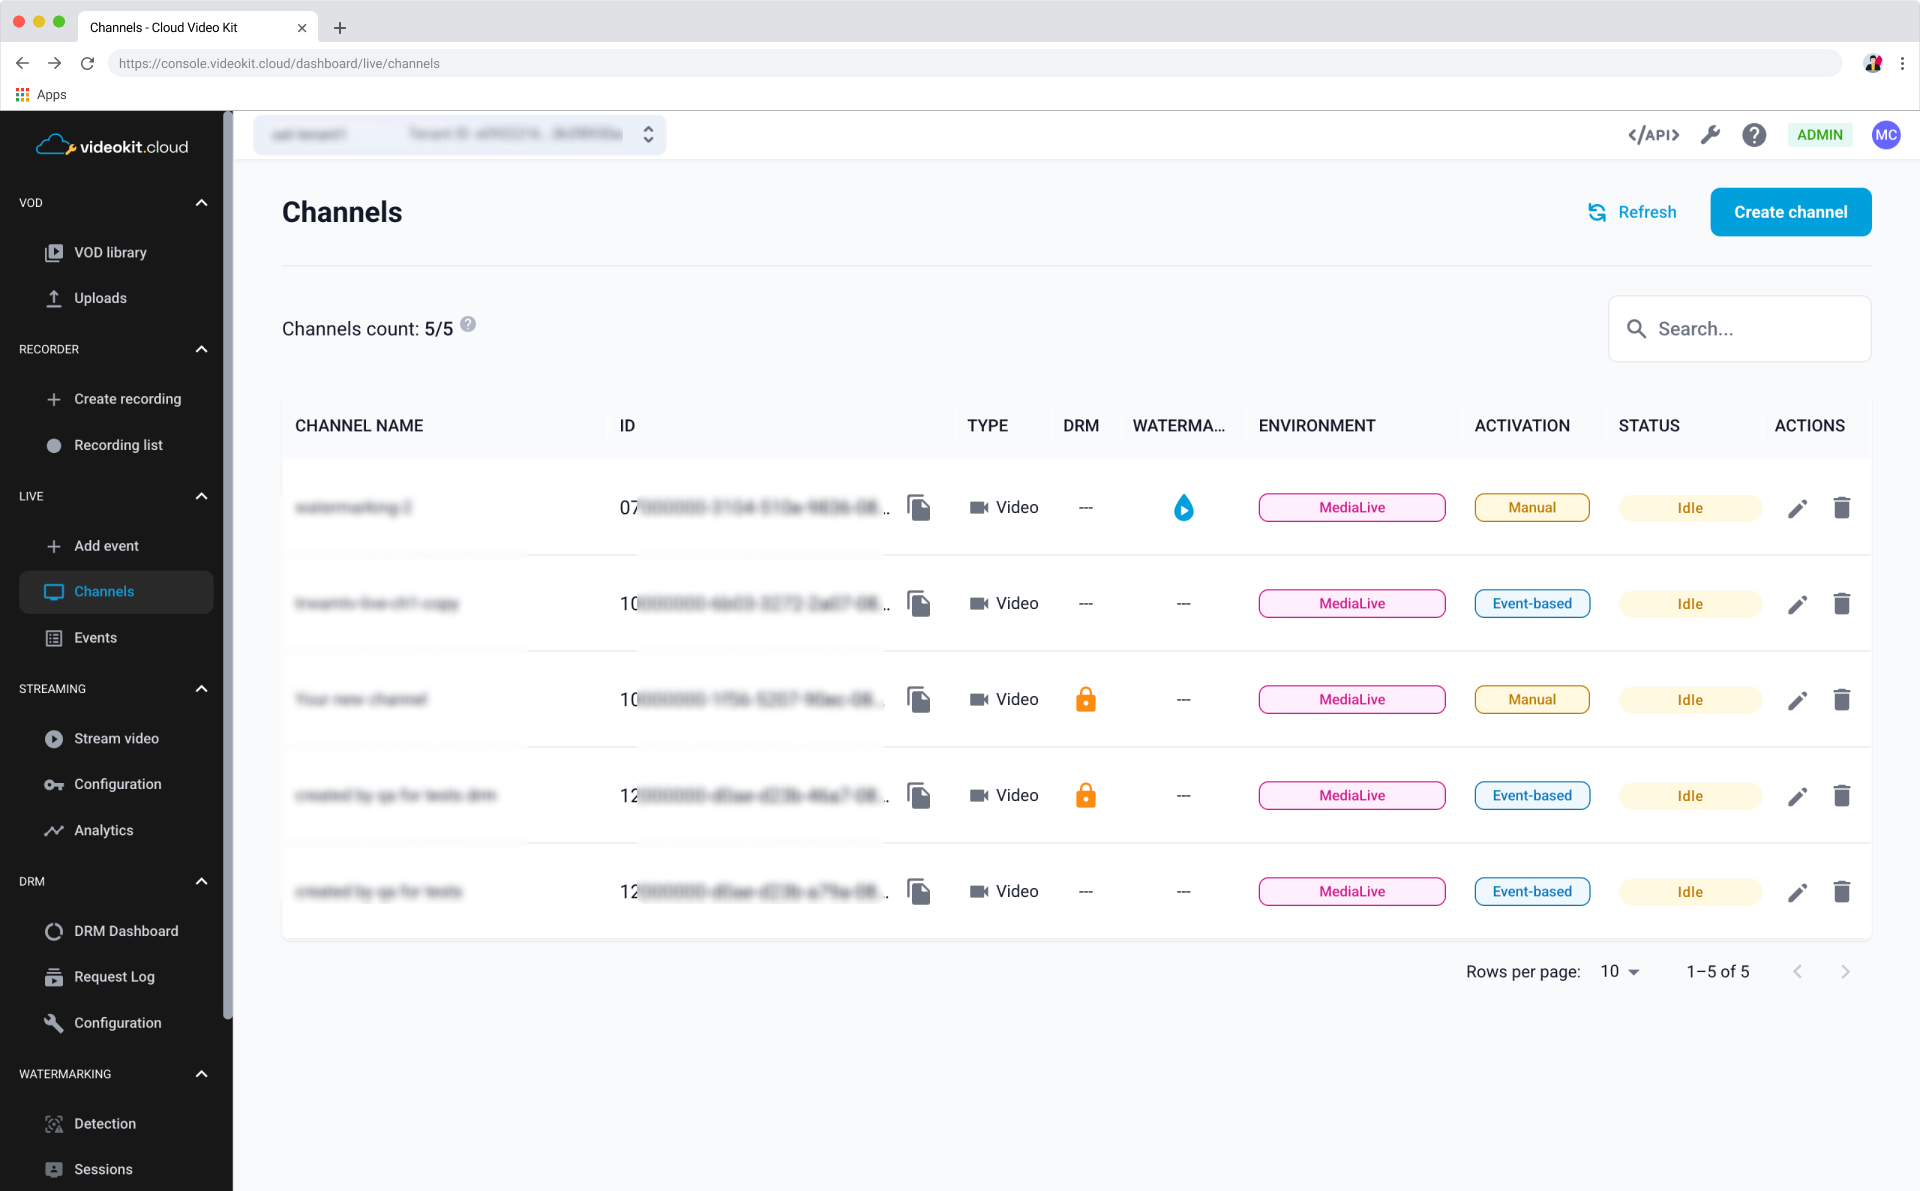
- Go to the Channels page in the Live module.
- Click the
Create channelbutton.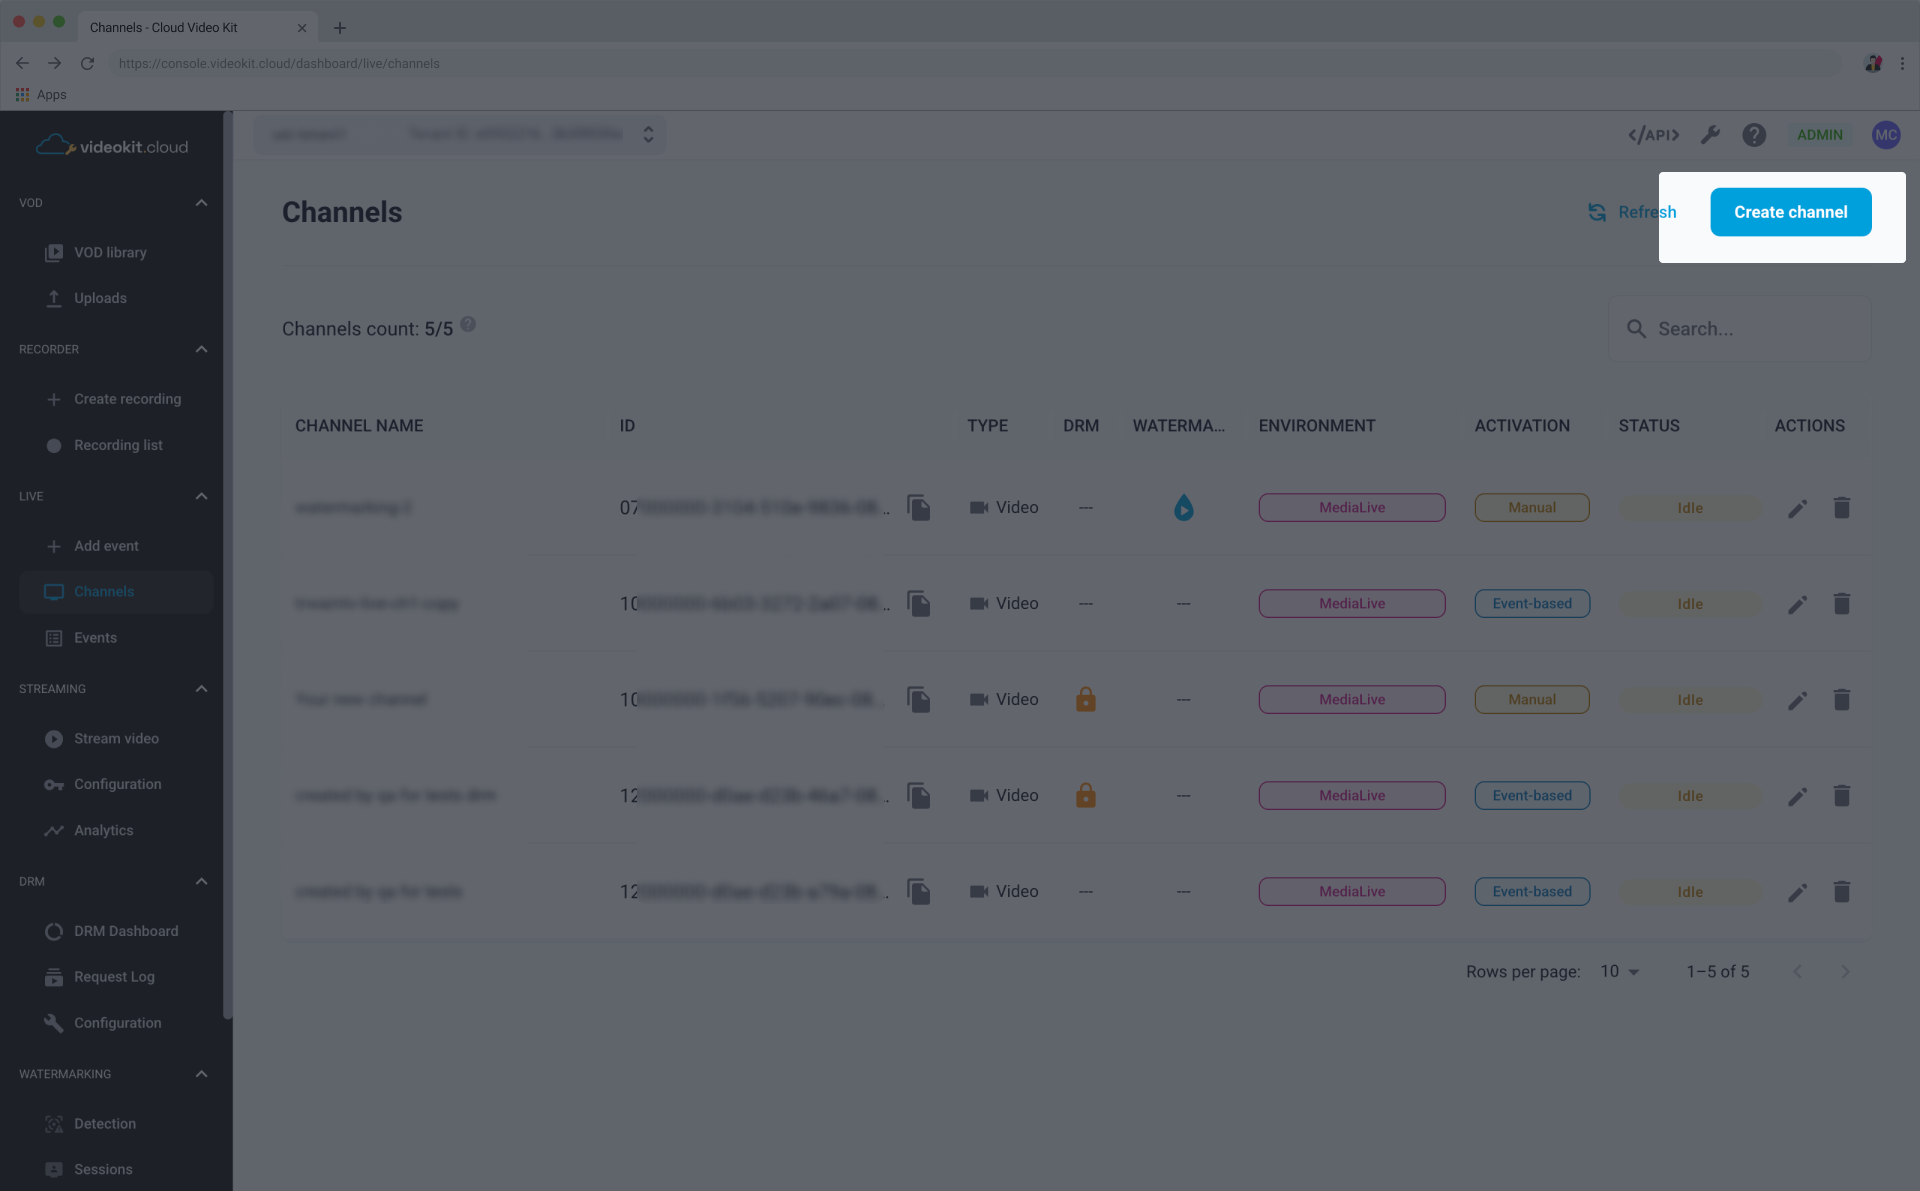
- Fill the Channel name and configure the channel according to your requirements. You need to specify at least one channel endpoint and one channel quality. Adding restreams is not necessary to set up a channel.
To learn more about channel configuration, go to the Configuration parameters section.
Duplicate existing channel’s configuration
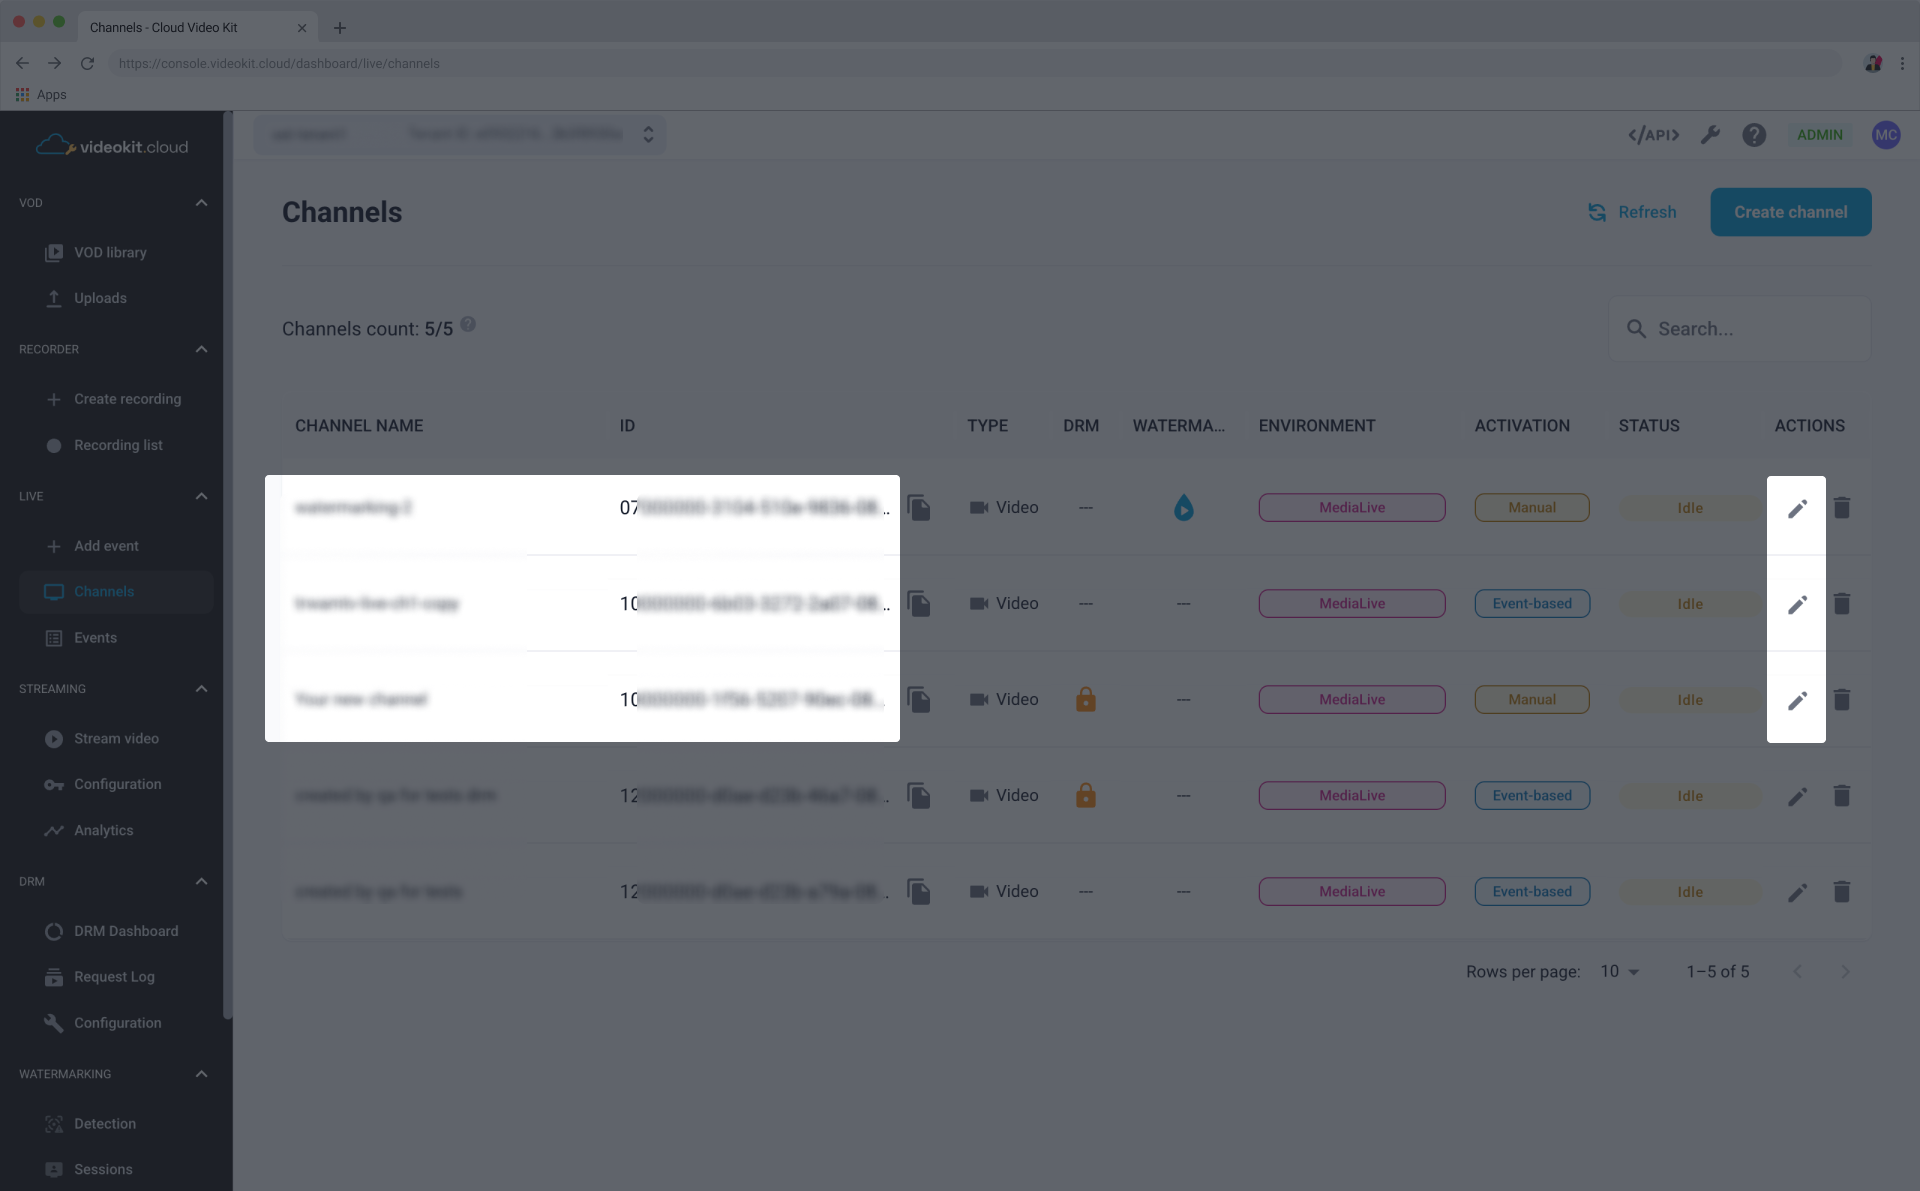
- Go to the Channels page in the Live module.
- Find the channel you want to duplicate and click either on the Channel name or pencil icon in the Actions column.
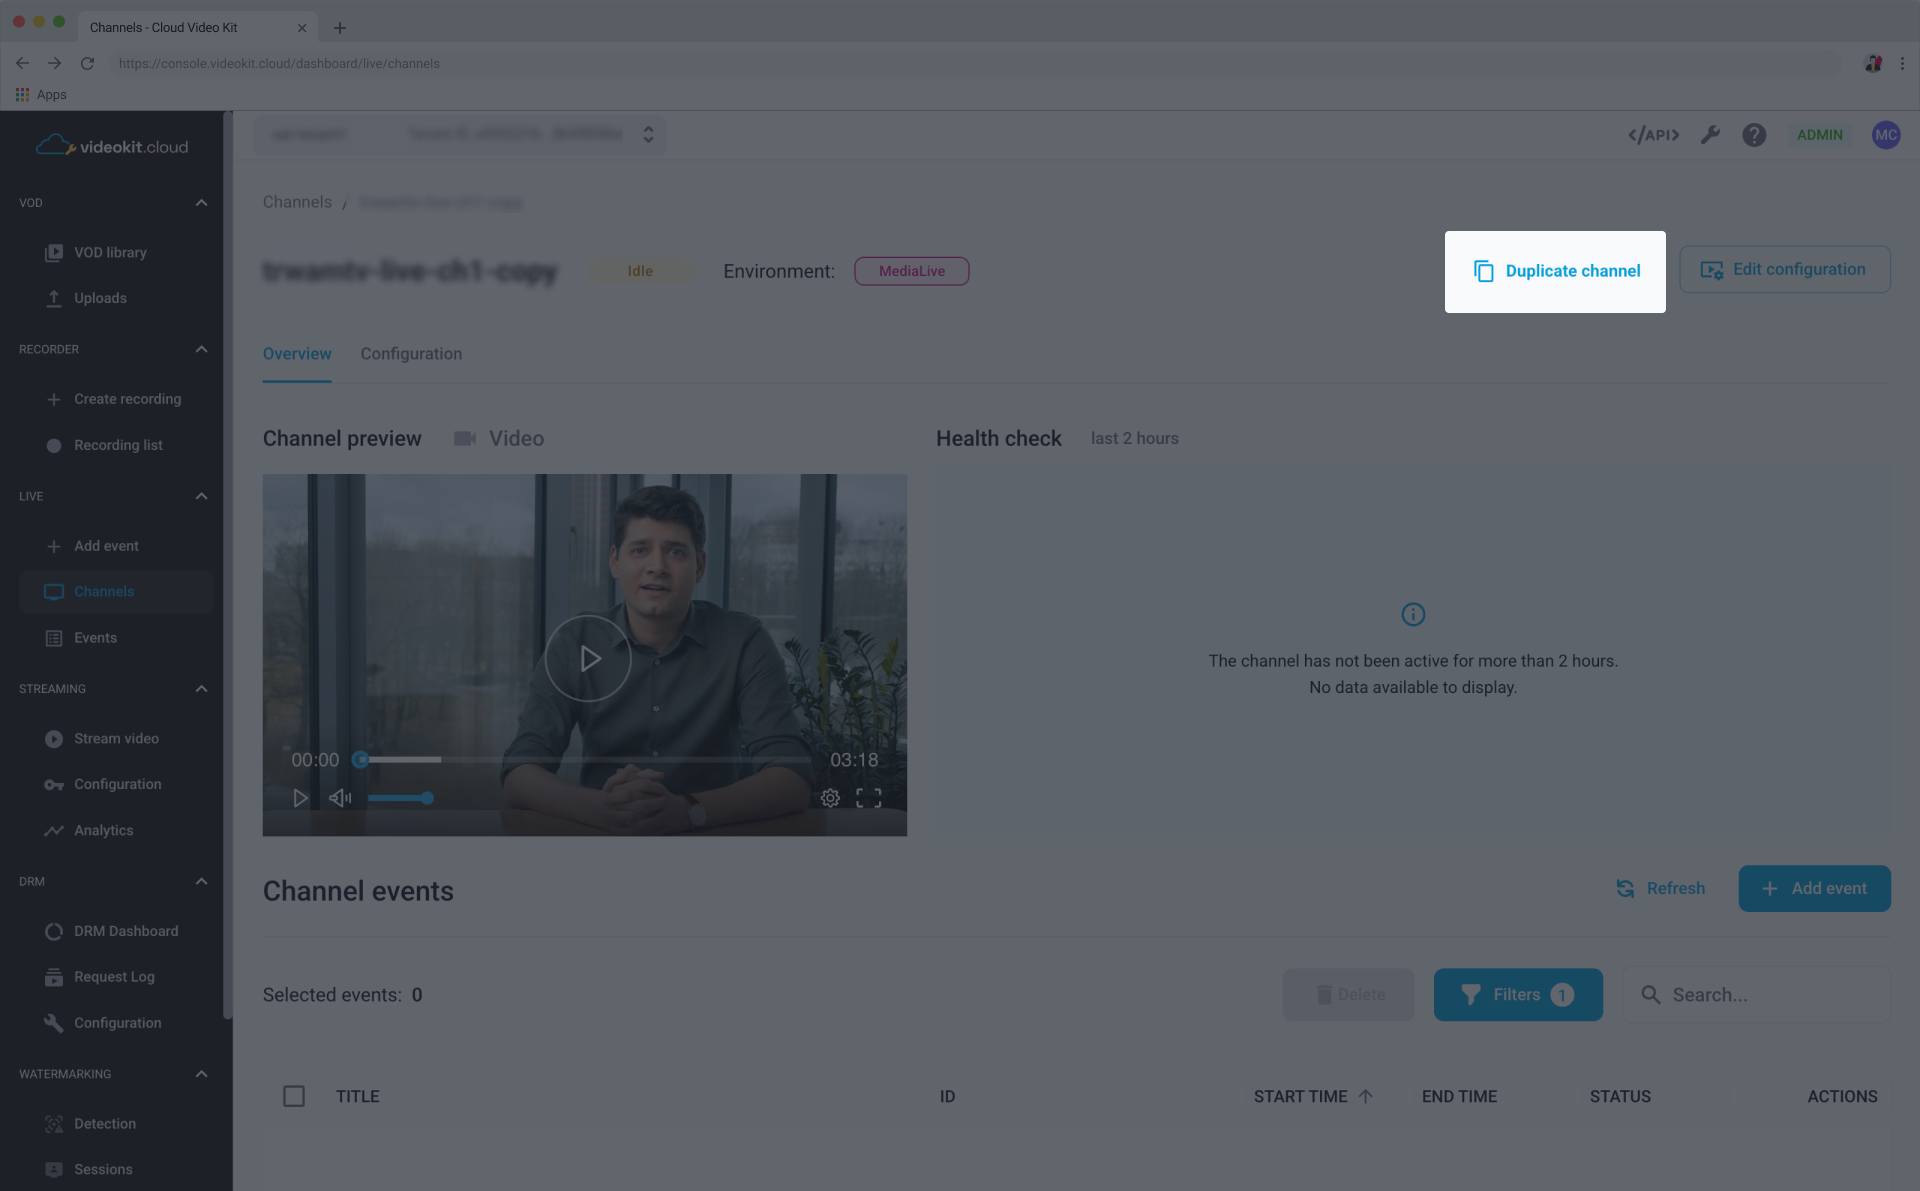
- Click the Duplicate channel button placed on the right side of the screen.
- You can change the Channel name and adjust duplicated channel configuration according to your requirements. You need to specify at least one channel endpoint and one channel quality. Adding restreams is not necessary to set up a channel.
Viewing channel details
Once you have set up your channel, you can see all its details by clicking either on the Channel name or pencil icon in the Actions column.
At the top of the screen you will find information about the channel’s name, status and environment.
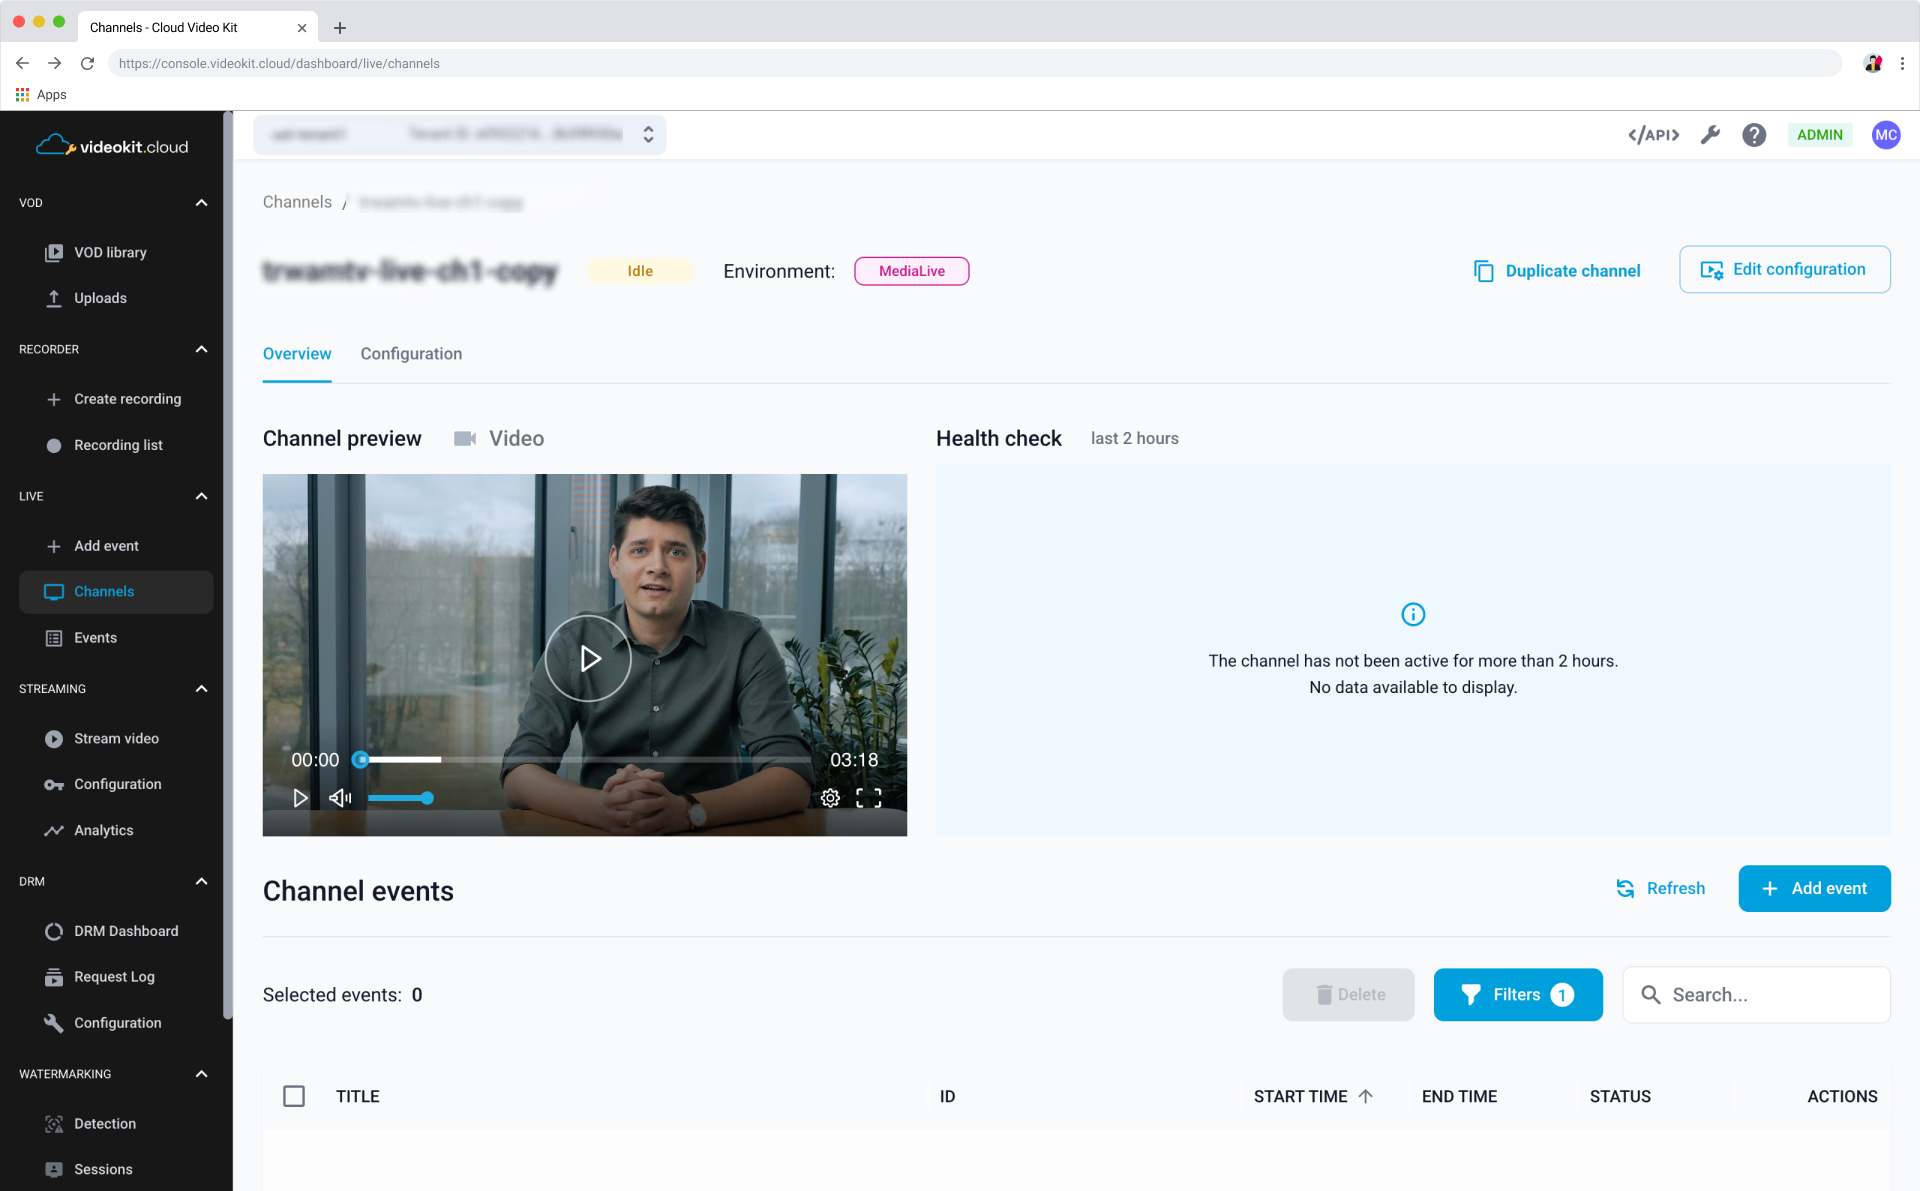
Below you will find two tabs that contain all channel information and details: Overview and Configuration.
Overview
Gives you a rough inspection of the channel - you can preview the stream, see how the channel fares and scan through events that have been scheduled for the channel.
Channel preview
Allows you to quickly preview the channel stream.
Health check
Here you can examine the channel's condition ‘live’ and from the last 2 hours. Get information on various aspects by switching between tabs:
- Network 1st input,
- Network 2nd input (for channels with Double Input configured),
- Audio.
Channel events
This section enables you to manage the events scheduled for this channel.
Configuration
This tab contains the information about the channel configuration and lists all parameters you can copy and use, such as:
- input IDs,
- input server addresses,
- stream key secrets,
- endpoint URLs.
Editing channels
To adjust the parameters of your channel, follow these steps:
Go to the Channels page in the Live module.
Find the channel you want to edit and click either on the Channel name or pencil icon in the Actions column.
Click the Edit configuration button placed on the right-hand side of the screen.
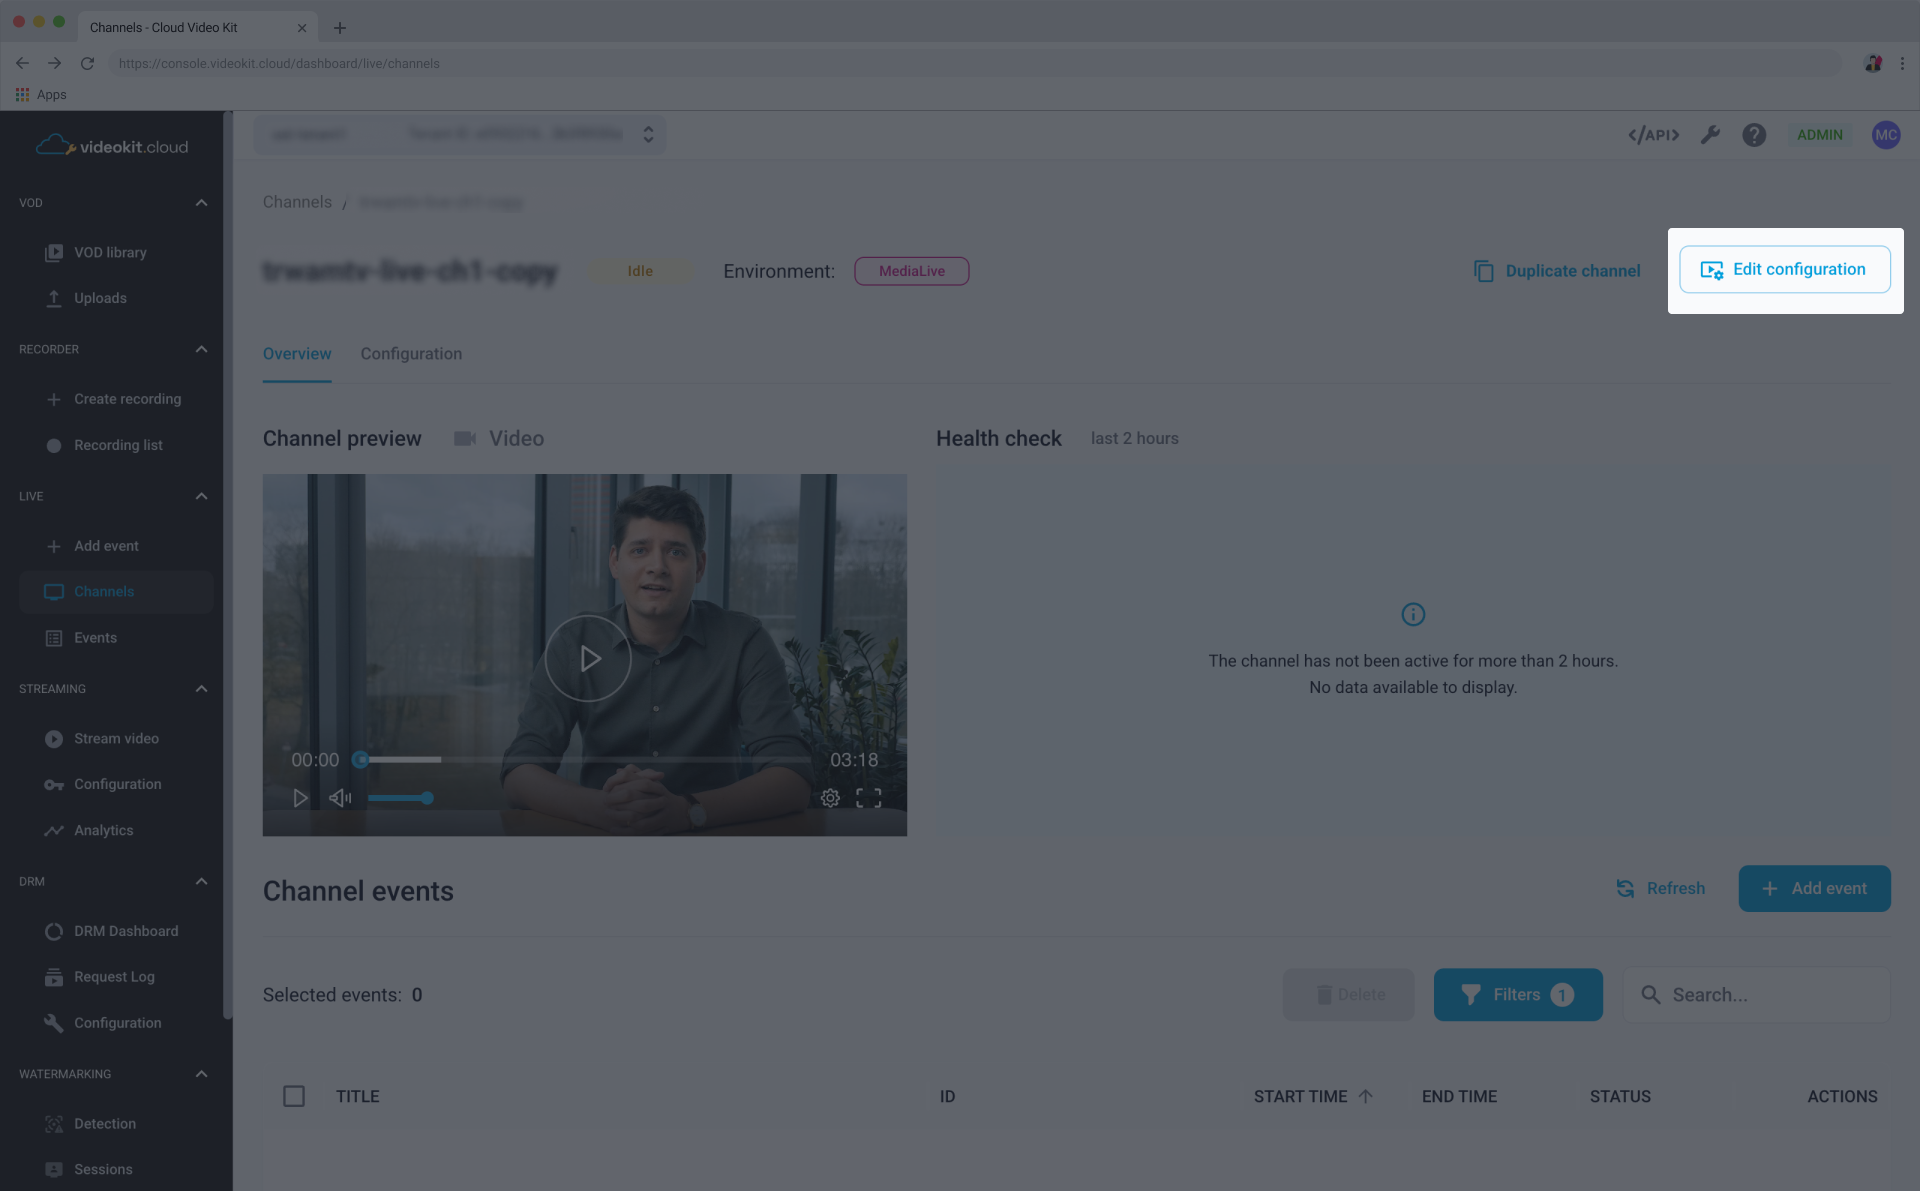
Change the configuration parameters and click Save changes.
To learn more about channel configuration, go to the Configuration parameters section.
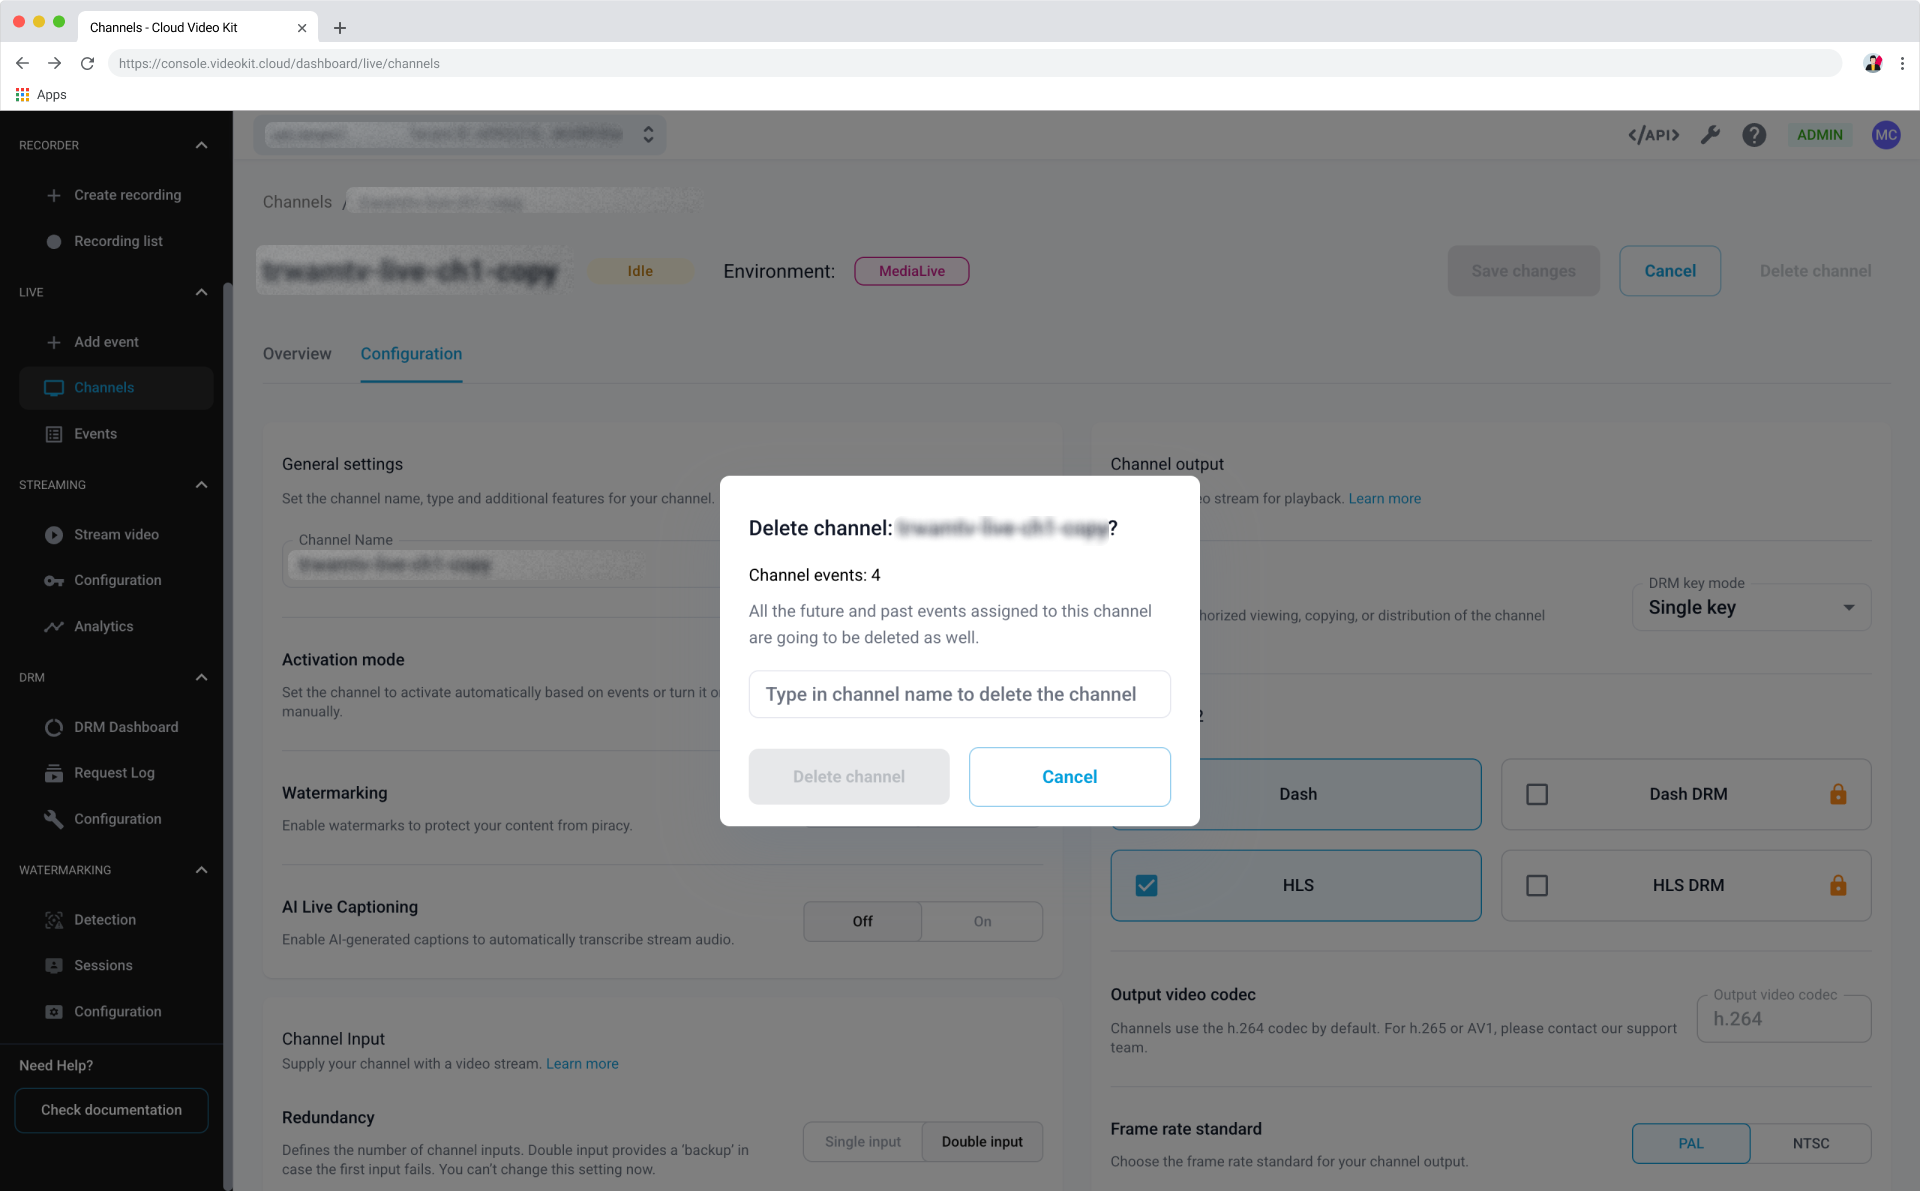
Deleting channels
Deleting channels entails deleting all the events that have been assigned to this channel. You won't be able to retrieve them or create new recordings.
If you wish to delete a channel manually, follow these steps:
Go to the Channels page in the Live module.
Find the channel you want to edit and click either on the Channel name or pencil icon in the Actions column.
Click the Edit configuration button placed on the right-hand side of the screen.
Click the Delete channel button on the right-hand side of the screen.
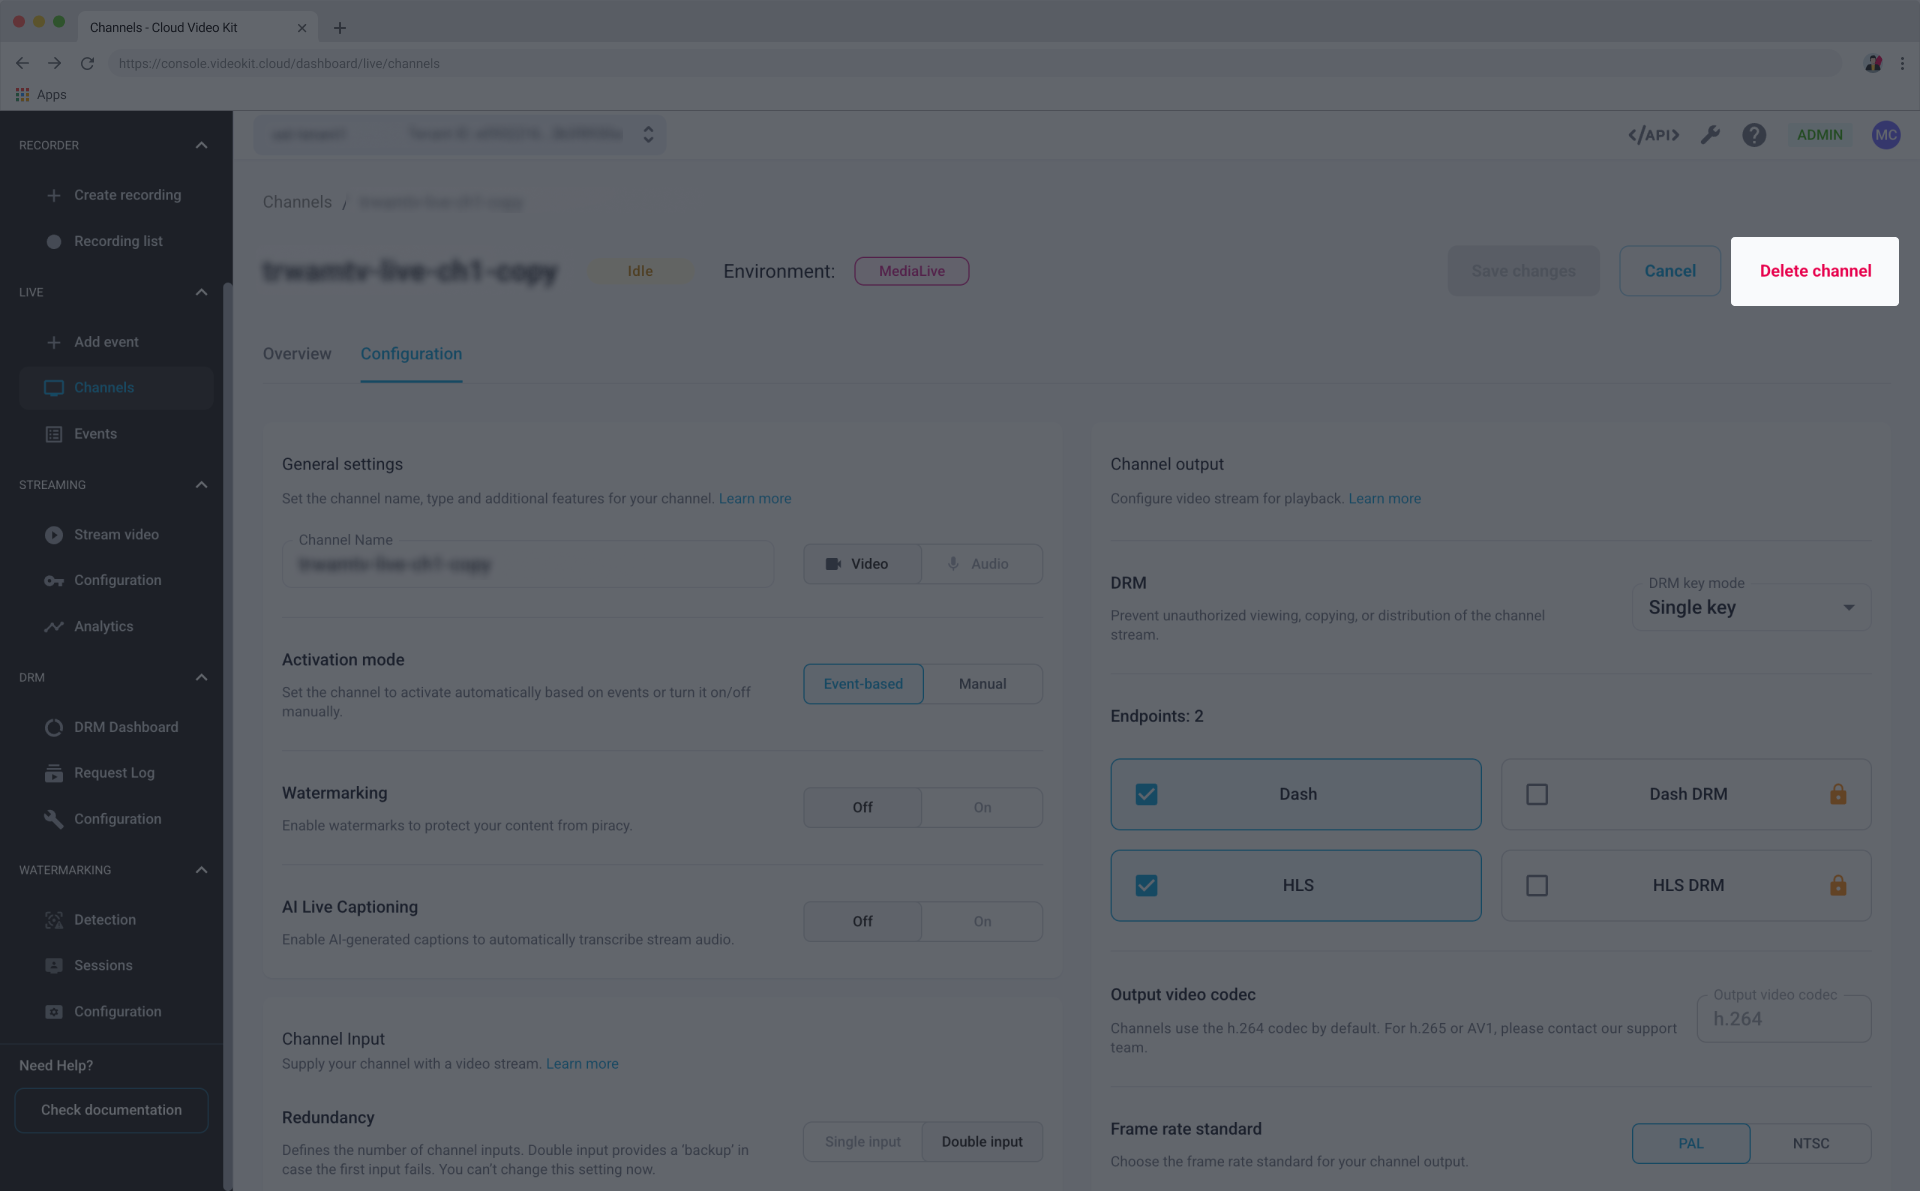
Type in the Channel name on the modal and click Delete channel button.
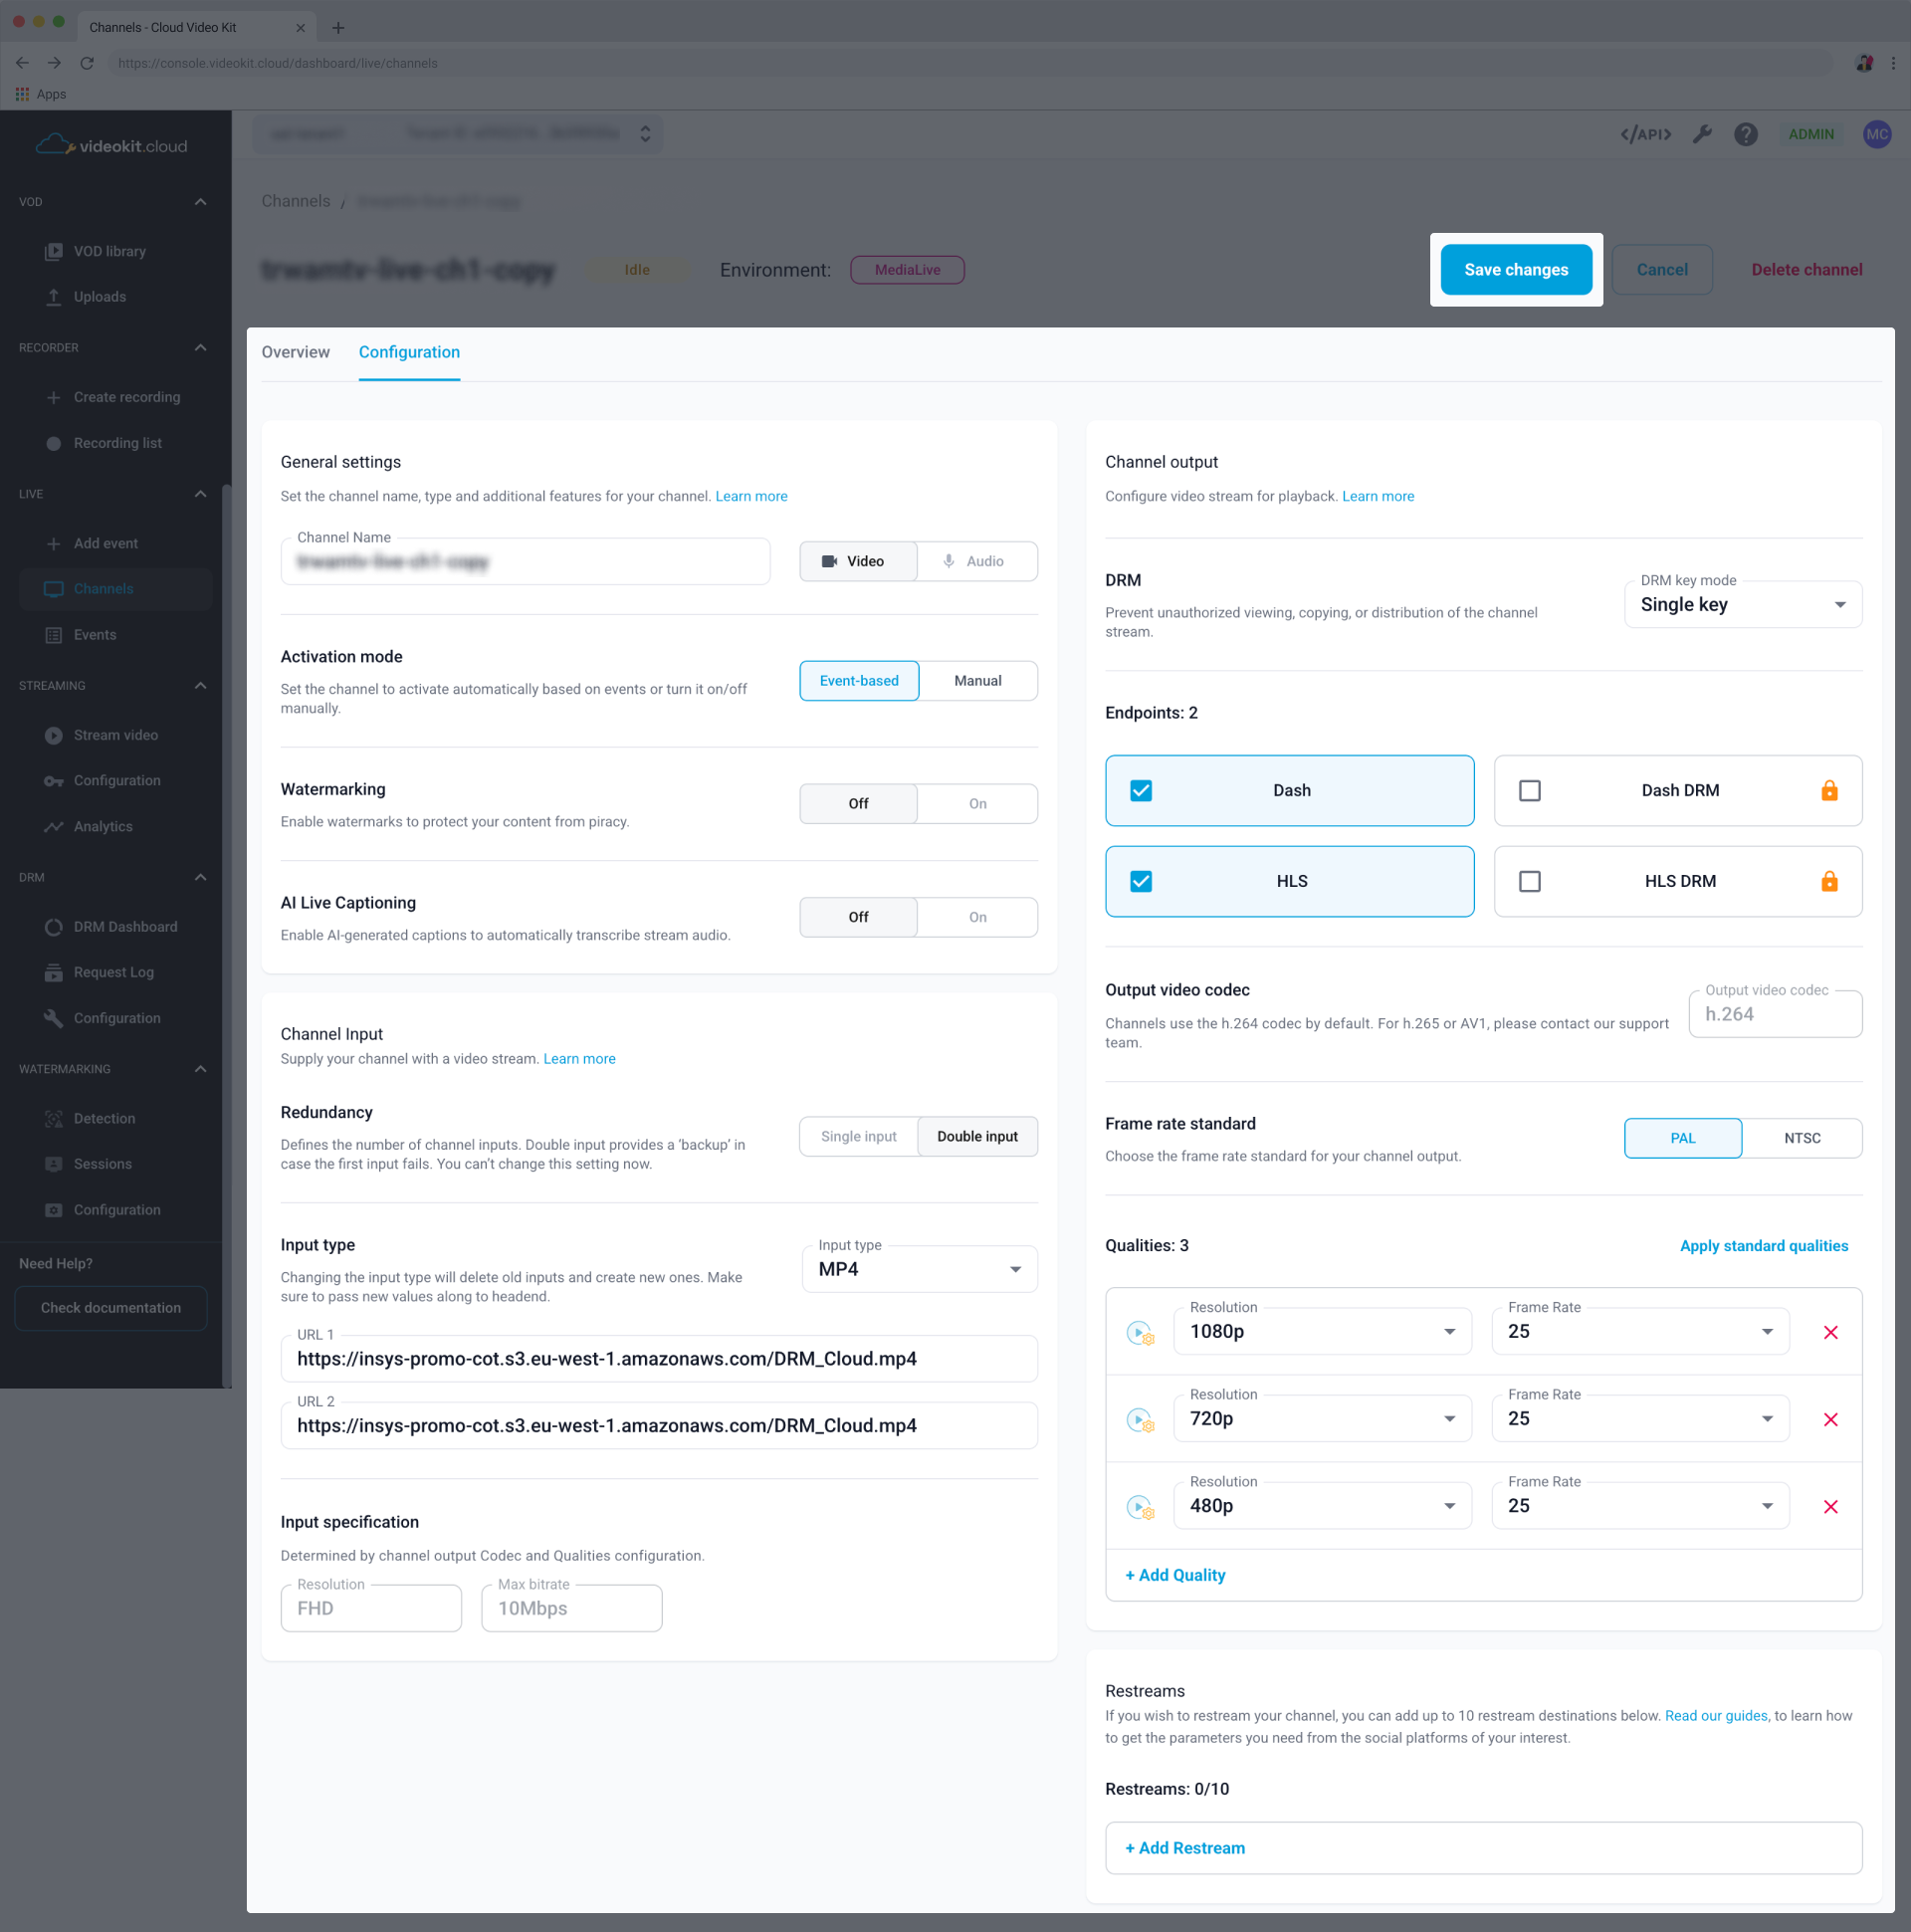
Configuration parameters
A list of parameters you can set up while configuring a new channel.
Environment
Defines which AWS environment the channel is going to use. This parameter can’t be changed in the channel configuration after the channel has been created.
- MediaLive Cloud – A cloud-based, broadcast-grade video processing service.
- MediaLive Anywhere – Allows running live video encoding on-premises while using the cloud for management.
Channel name
Must be 0-28 characters long. You can change the channel name in the configuration after the channel has been created.
Channel type
Defines the content type: Video or Audio only. This parameter cannot be changed after the channel has been created.
Activation mode
Determines how the channel starts and stops.
- Event-based – Channel activates automatically based on scheduled events.
- Manual – You must manually toggle the channel on/off from the Channel page.
Watermarking
Allows you to enable or disable digital watermarks to protect your content from piracy.
AI Live Captioning
Enables AI-generated captions to automatically transcribe the stream’s audio in real-time.
Some of the features may be disabled on your tenant by default. If you want to enable them, please contact our support team.
Redundancy
Defines the number of channel inputs. This cannot be changed after creation.
- Single input – One input source without a backup.
- Double input – Provides a "backup" (URL 1 and URL 2) in case the first input fails.
Input type
Specifies the protocol for the source stream.
- RTMP (push) - Real-Time Messaging Protocol widely used for video streaming and live television.
- RTP - Real-time Transport Protocol used for audio and video. This input type can be used for Double input (Redundant) channels. RTP is the only available input type for audio channels.
- MP4 - Loop a static .mp4 file from an URL. Often used for staging and testing. You can use an .mp4 URL from VOD or Recorder module or any URL from the internet.
- SRT (listener) - Transport protocol widely used in various industry applications for video streaming. Input waits to receive a connection from a caller.
Other inputs available after contacting our support team:
- SDI - Protocol widely used in an on-prem setup. Carries digital video and audio signals. Available only for MediaLive Anywhere environment channels.
- Multicast - Protocol widely used in an on-prem setup. Converts the network traffic to unicast, adds encryption, and sends the video to a cloud. Available only for MediaLive Anywhere environment channels.
- Elemental Link - Portable AWS encoding device purchased by you or delivered by Big Blue Marble. Using a channel with this input type is more expensive.
When Double input is selected, you must provide two source URLs.
Input specification
Displays the requirements for the input source based on your output configuration. This usually includes:
- Resolution (e.g., FHD)
- Max bitrate (e.g., 10Mbps)
DRM
If using DRM-protected endpoints, you can select the DRM key mode.
- Single key – Uses one key for content protection.
- Multi key – Uses different encryption keys for different quality levels or tracks.
Endpoints
You must select at least one endpoint for playback. You can select up to 4:
- Dash / Dash DRM
- HLS / HLS DRM
Select aspect ratio for each of endpoints. Available options:
- Horizontal (16:9)
- Vertical (9:16)
Output video codec
Channels use the h.264 codec by default.
For h.265 or AV1, you must contact the support team.
Frame rate standard
Choose the global frame rate standard for your channel output:
- PAL
- NTSC
Qualities
You need to have at least one stream quality defined. You can have as many qualities configured as you wish. Remember about your end users - various stream qualities enable them to adjust the stream to their requirements. Quality configuration can be changed after the channel has been created.
When adding a quality, choose one of the options for both resolution and frame rate:
- Resolution
- 2160p (4K): 3840x2160
- 1080p (HD): 1920x1080 (default)
- 720p (HD): 1280x720.
- 480p (SD): 854x480.
- 360p (SD): 640x360.
- Frame rate
- 25fps
- 30fps (default)
- 50fps
- 60fps
Restreams
Setting up restreams is optional. If you wish, you can add up to 10 restream destinations to your channel. You can also edit the restream configuration once the channel has been created. While configuring a restream, you need to provide:
- Destination - a list of platforms users can set a restream for:
- RTMP: YouTube
- RTMP: Facebook
- RTMP: X (Twitter)
- RTMP: Instagram
- RTMP: Other
- Label (optional) - helps you better distinguish configured restreams, i.e. when the same Destination is used for more then one restream.
- Input server (URL)
- Server address sourced from the restream destination (i.e. Facebook account).
- For channels with Redundancy set to Double Input (Redundant), the second Input server can be provided.
- Stream key (secret)
- Key sourced from the restream destination (i.e. Facebook account).
- For channels with Redundancy set to Double Input (Redundant), the second stream key can be provided.
To learn how to set up a restream, follow the step by step guides provided by the platform of your choice. In case you encounter any issues or find yourself in need of some guidance, please contact our customer support.