Webhooks
Webhooks allow you to monitor events in your modules by sending automated notifications to an external service. This helps you integrate the Cloud Video Kit Console with other applications and workflows. This guide explains how to create, manage, and delete your webhooks.
For more technical details, see our Webhooks article for developers.
Viewing the webhooks list
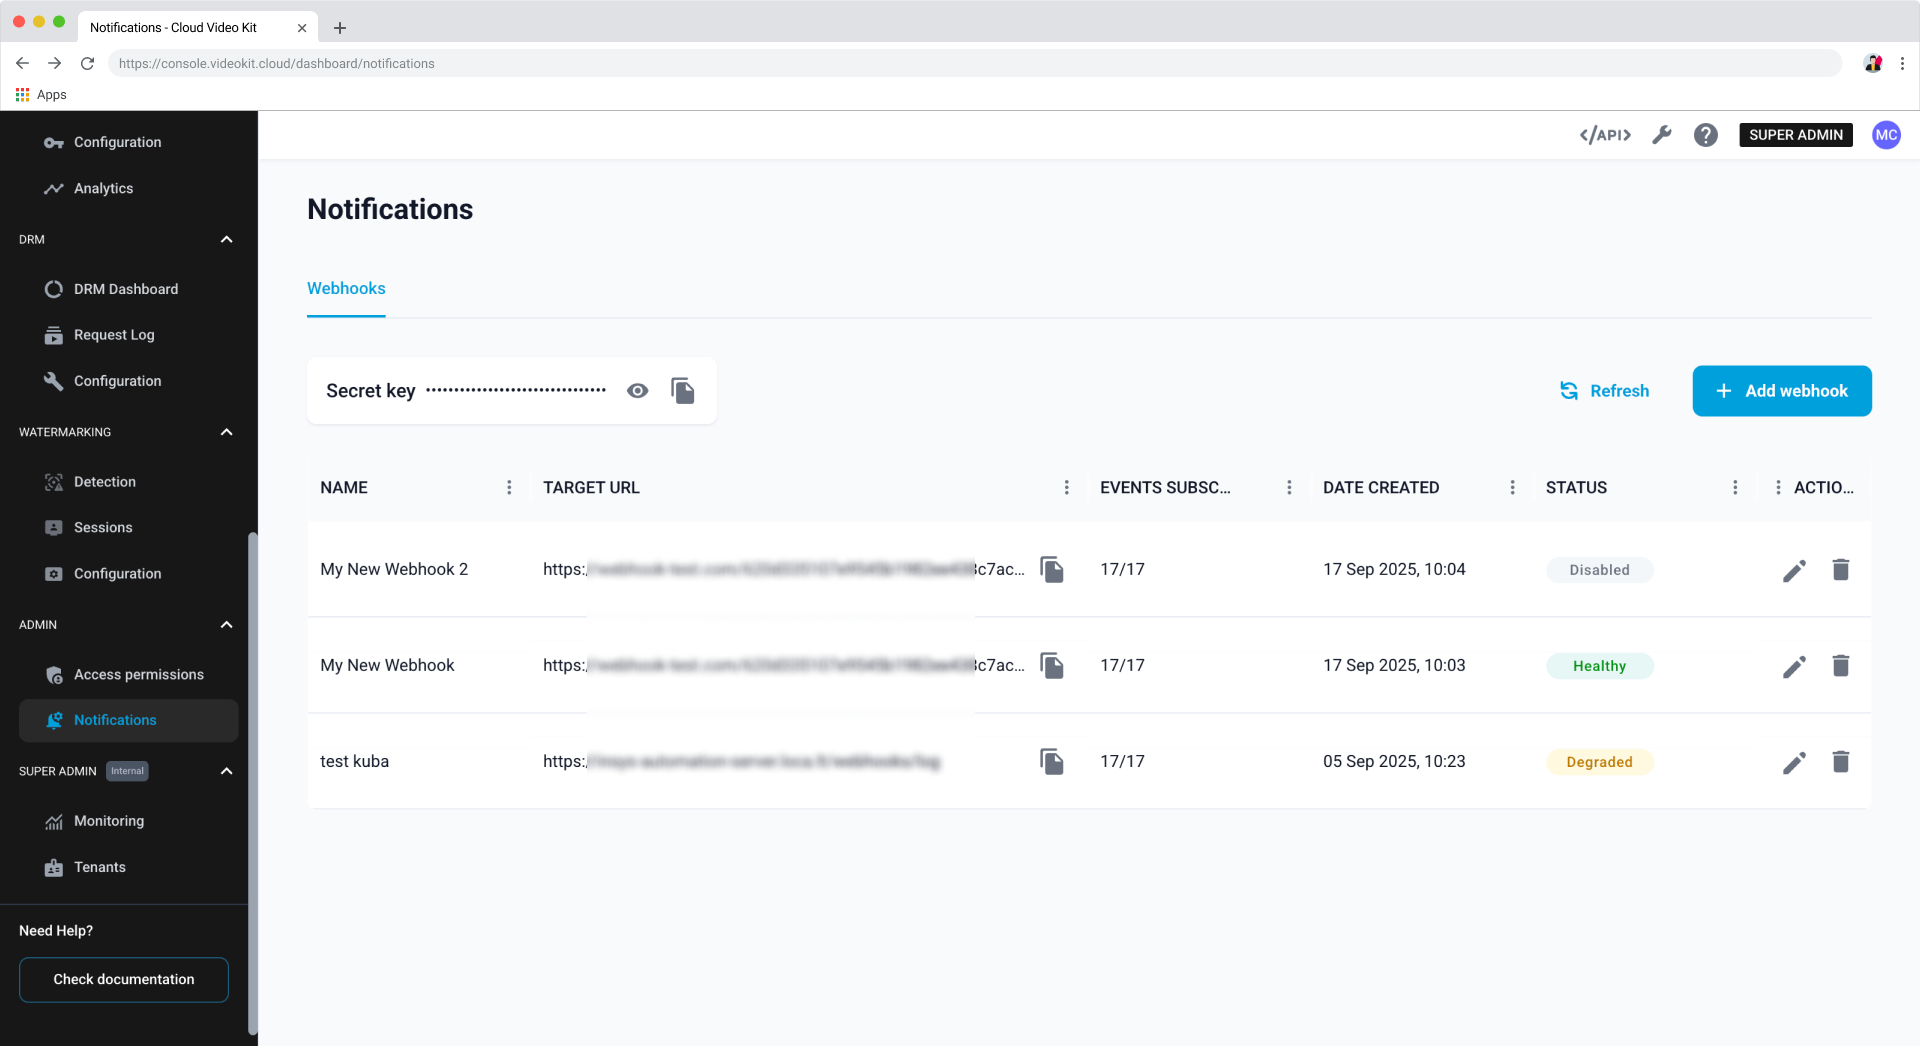
To open the Webhooks section, go to the Admin section in the left-hand menu and select Notifications.
Understanding webhook status
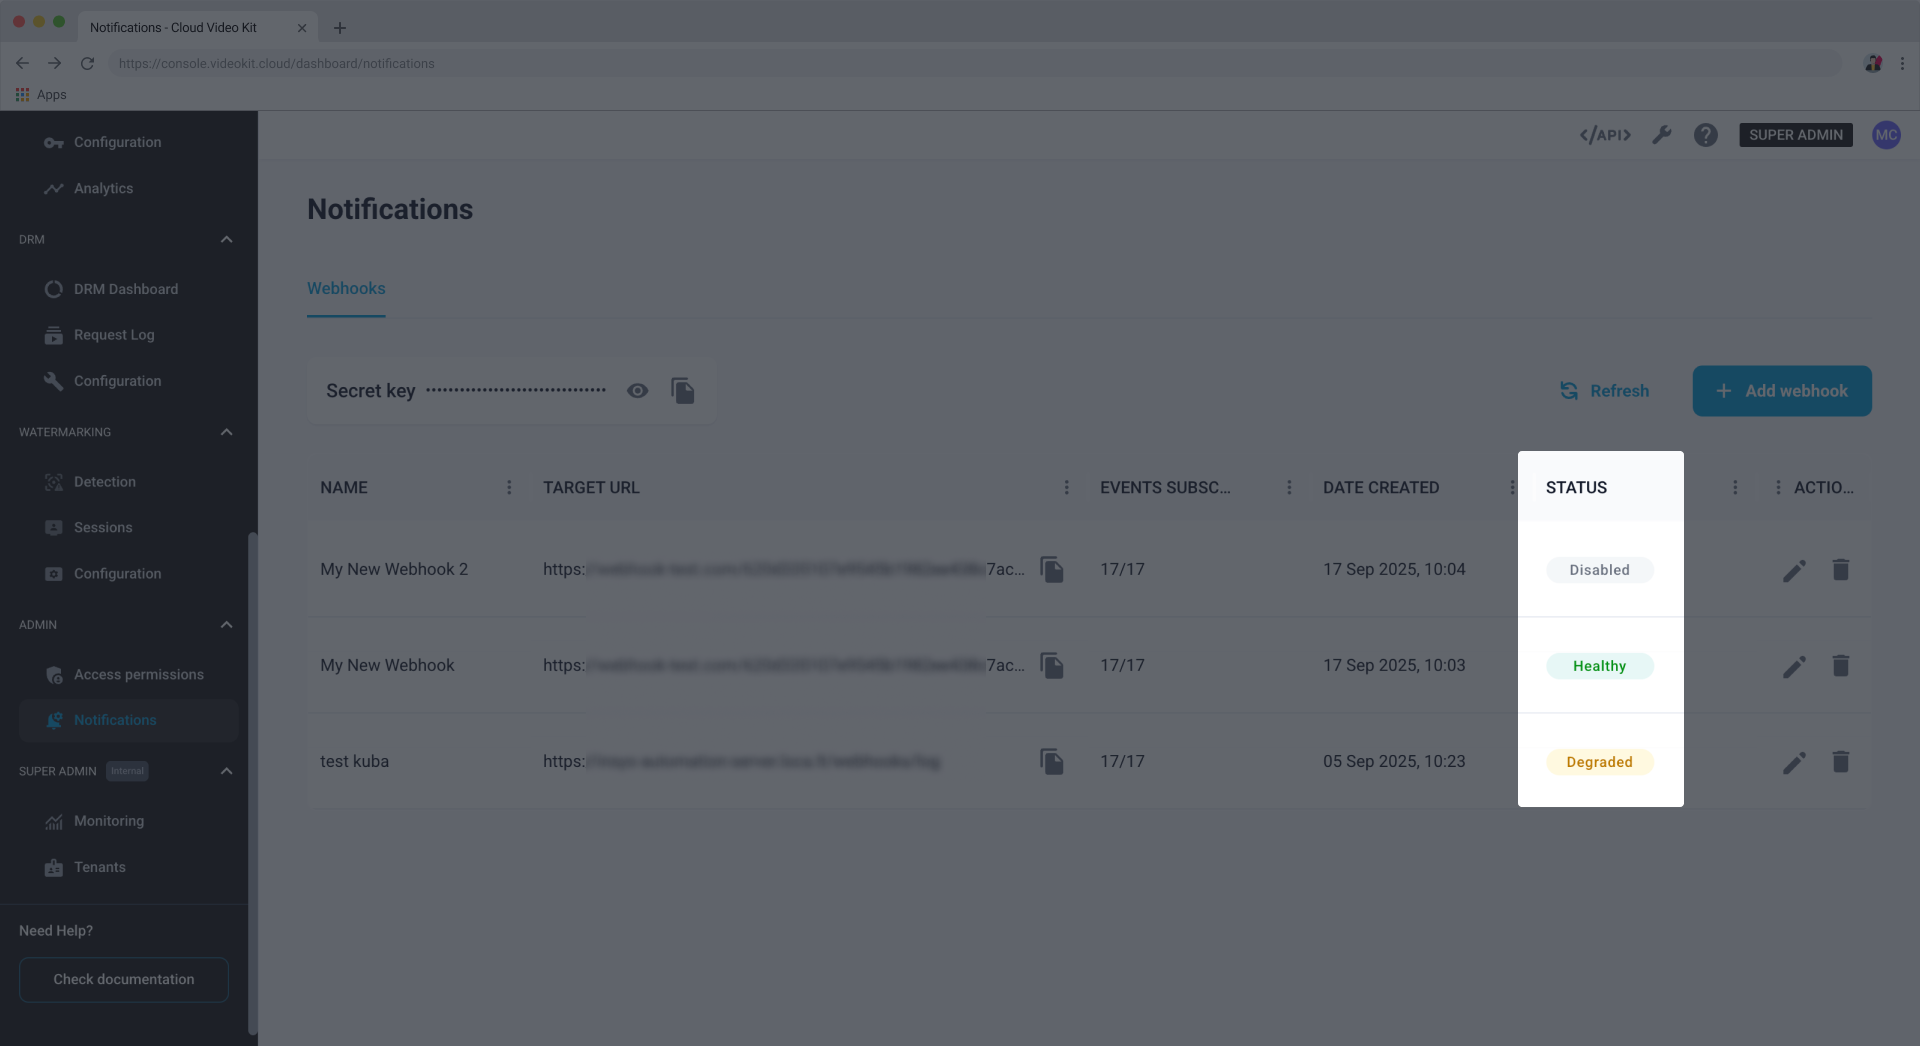
The Status column on the Notifications page shows the current health of each webhook. This helps you quickly see if your endpoints are receiving notifications successfully.
- Healthy: The endpoint is responding successfully to webhook deliveries.
- Unhealthy: The endpoint is failing to respond correctly to recent deliveries.
- Degraded: The endpoint is experiencing intermittent failures.
- Disabled: The webhook has been manually disabled and isn't sending notifications.
- Unknown: The status hasn't been determined yet. This is normal for newly created webhooks.
Managing the secret key
A single, universal secret key is generated for your tenant. This key is used to sign all your webhook requests, ensuring they're authentic and have come from your account.
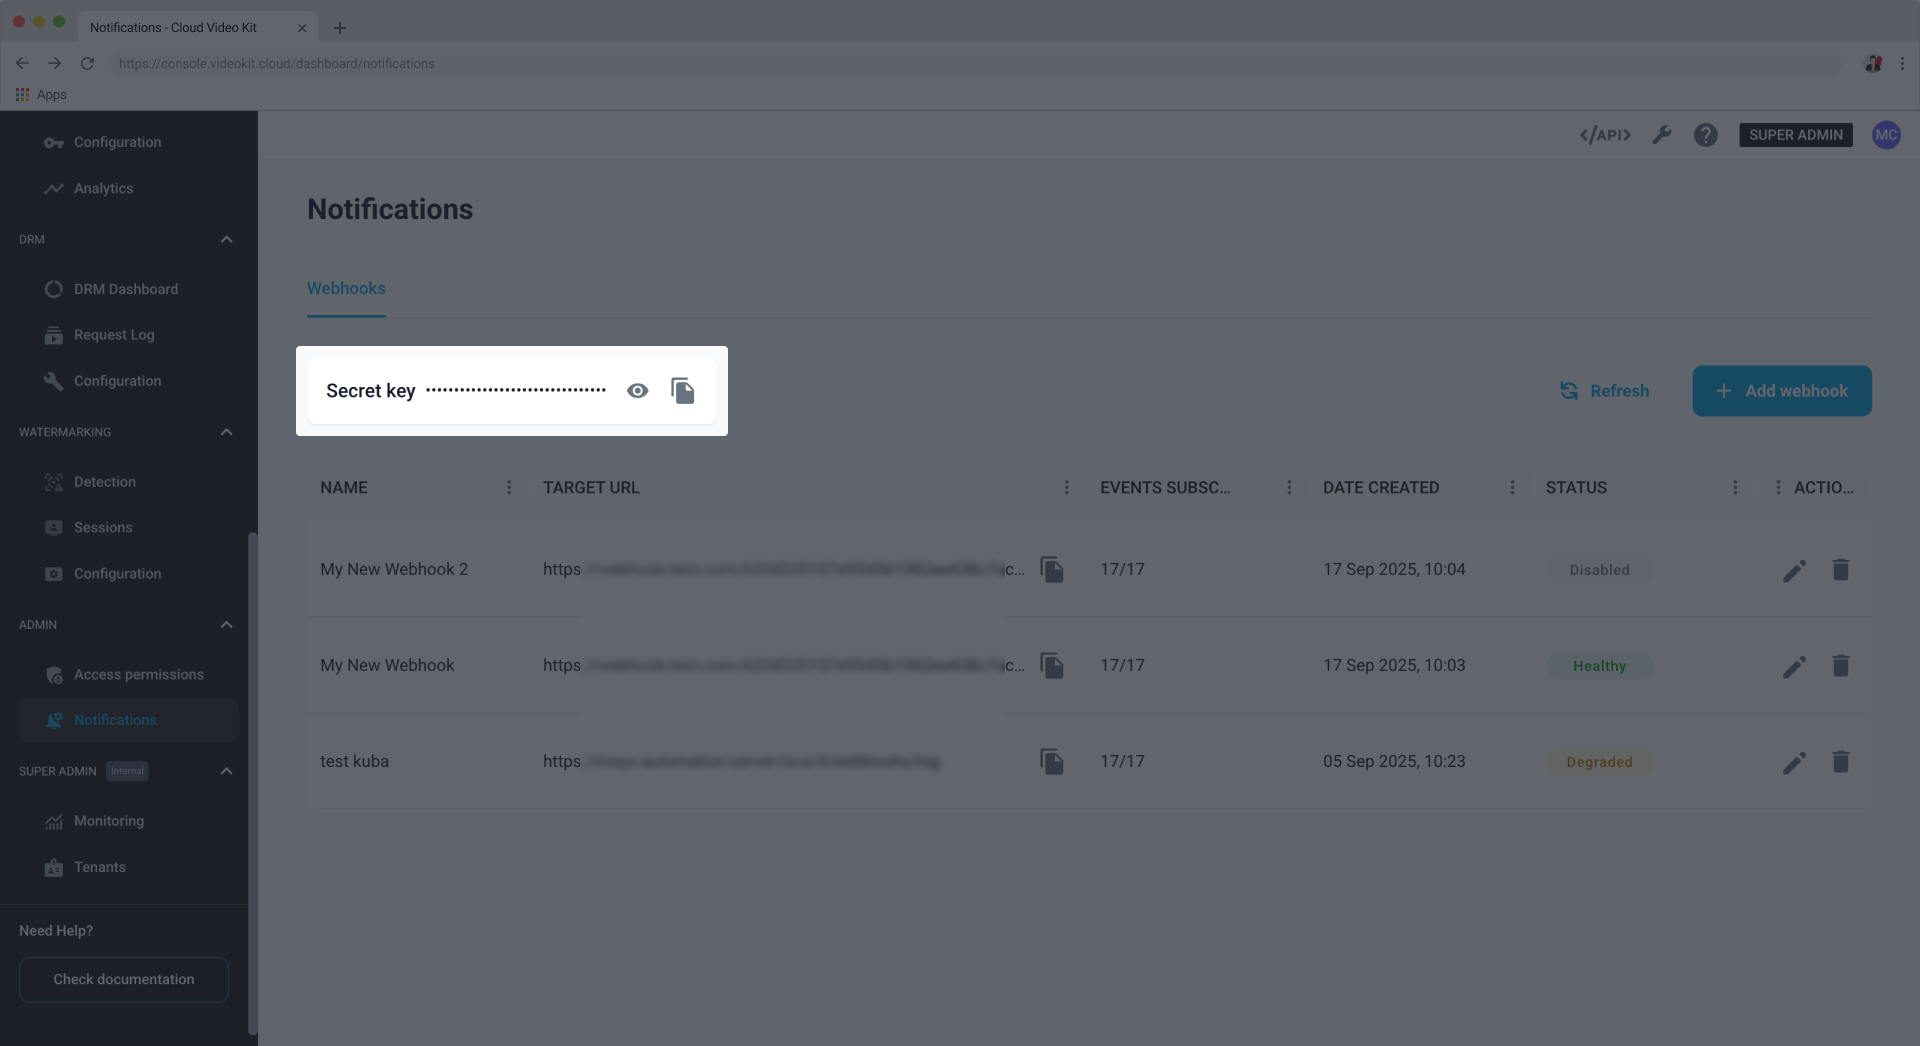
Keep the secret key stored safely. This token is universal for all the webhooks you configure. In case of a security breach, please contact Cloud Video Kit support team to have it refreshed.
Creating a webhook
To start receiving notifications about events, you need to create and configure a webhook.
- Click + Add webhook in the top-right corner.
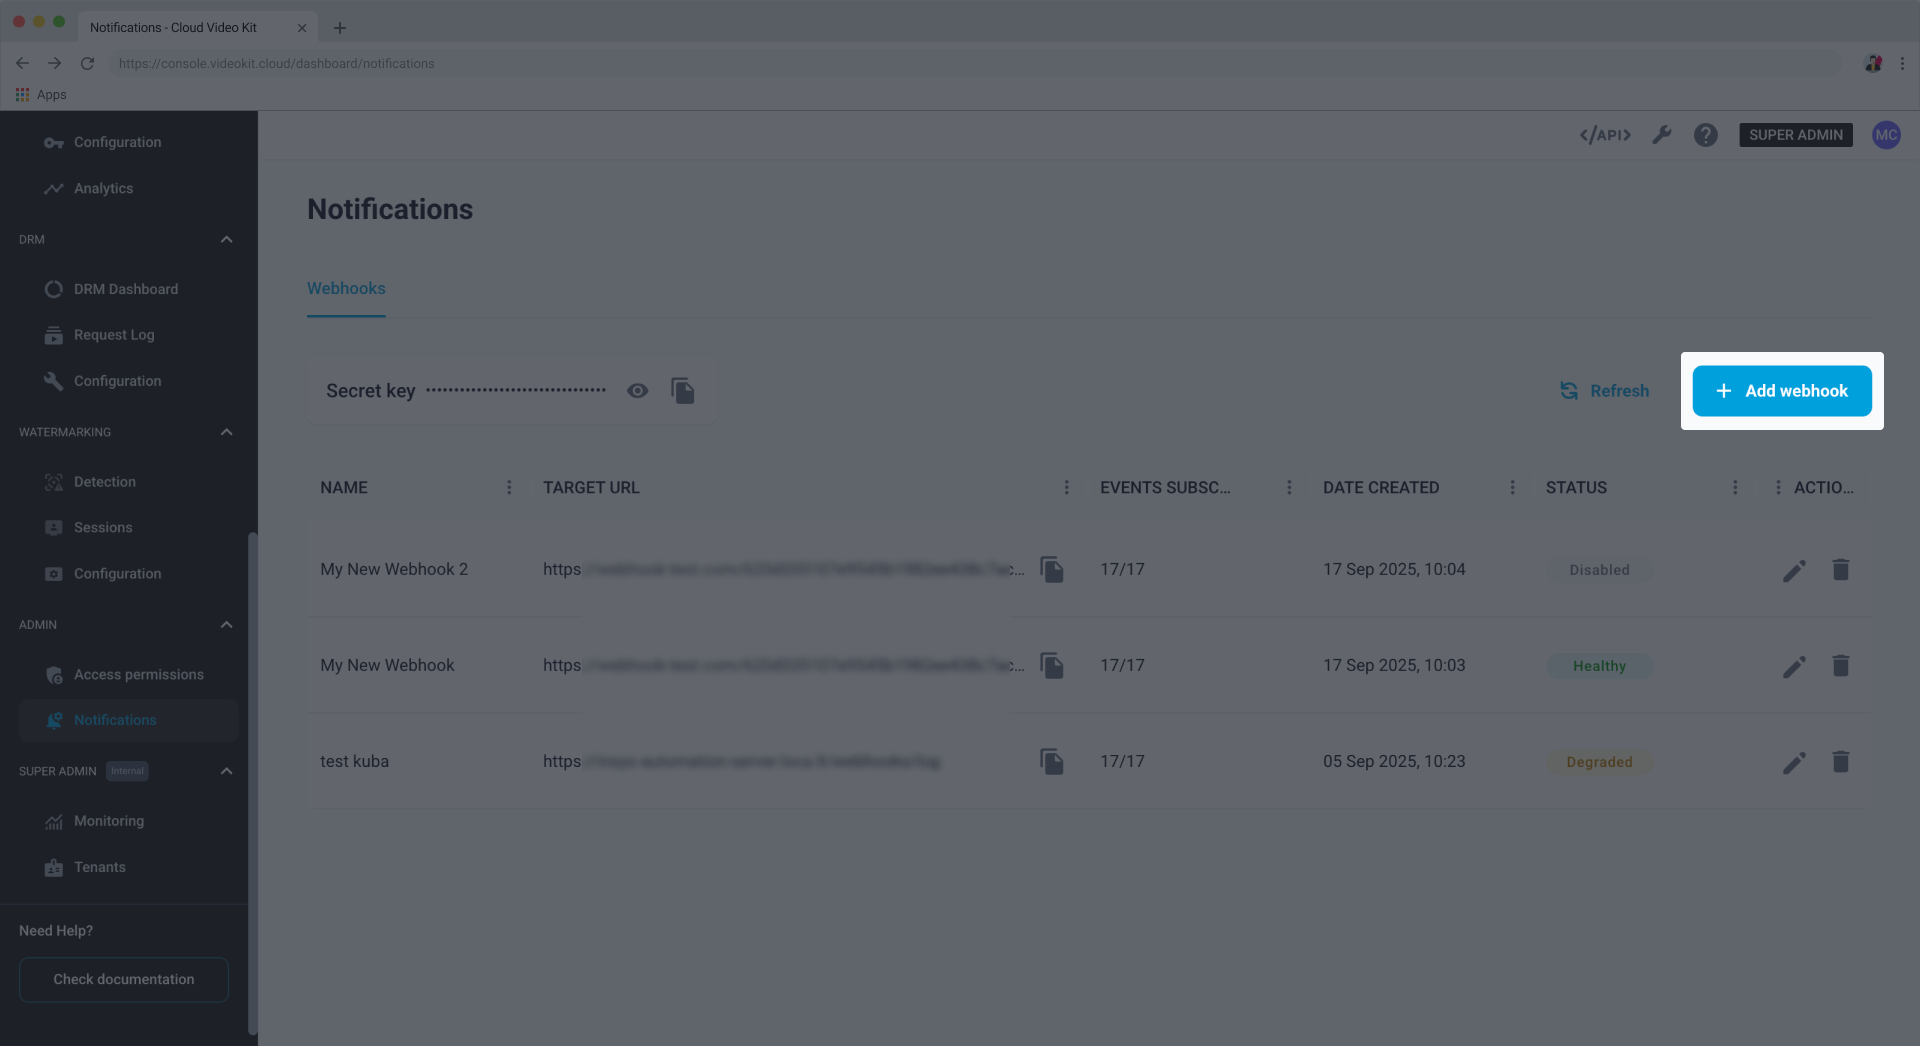
- Fill in the configuration details. You can learn more about each field in the Configuration parameters section below.
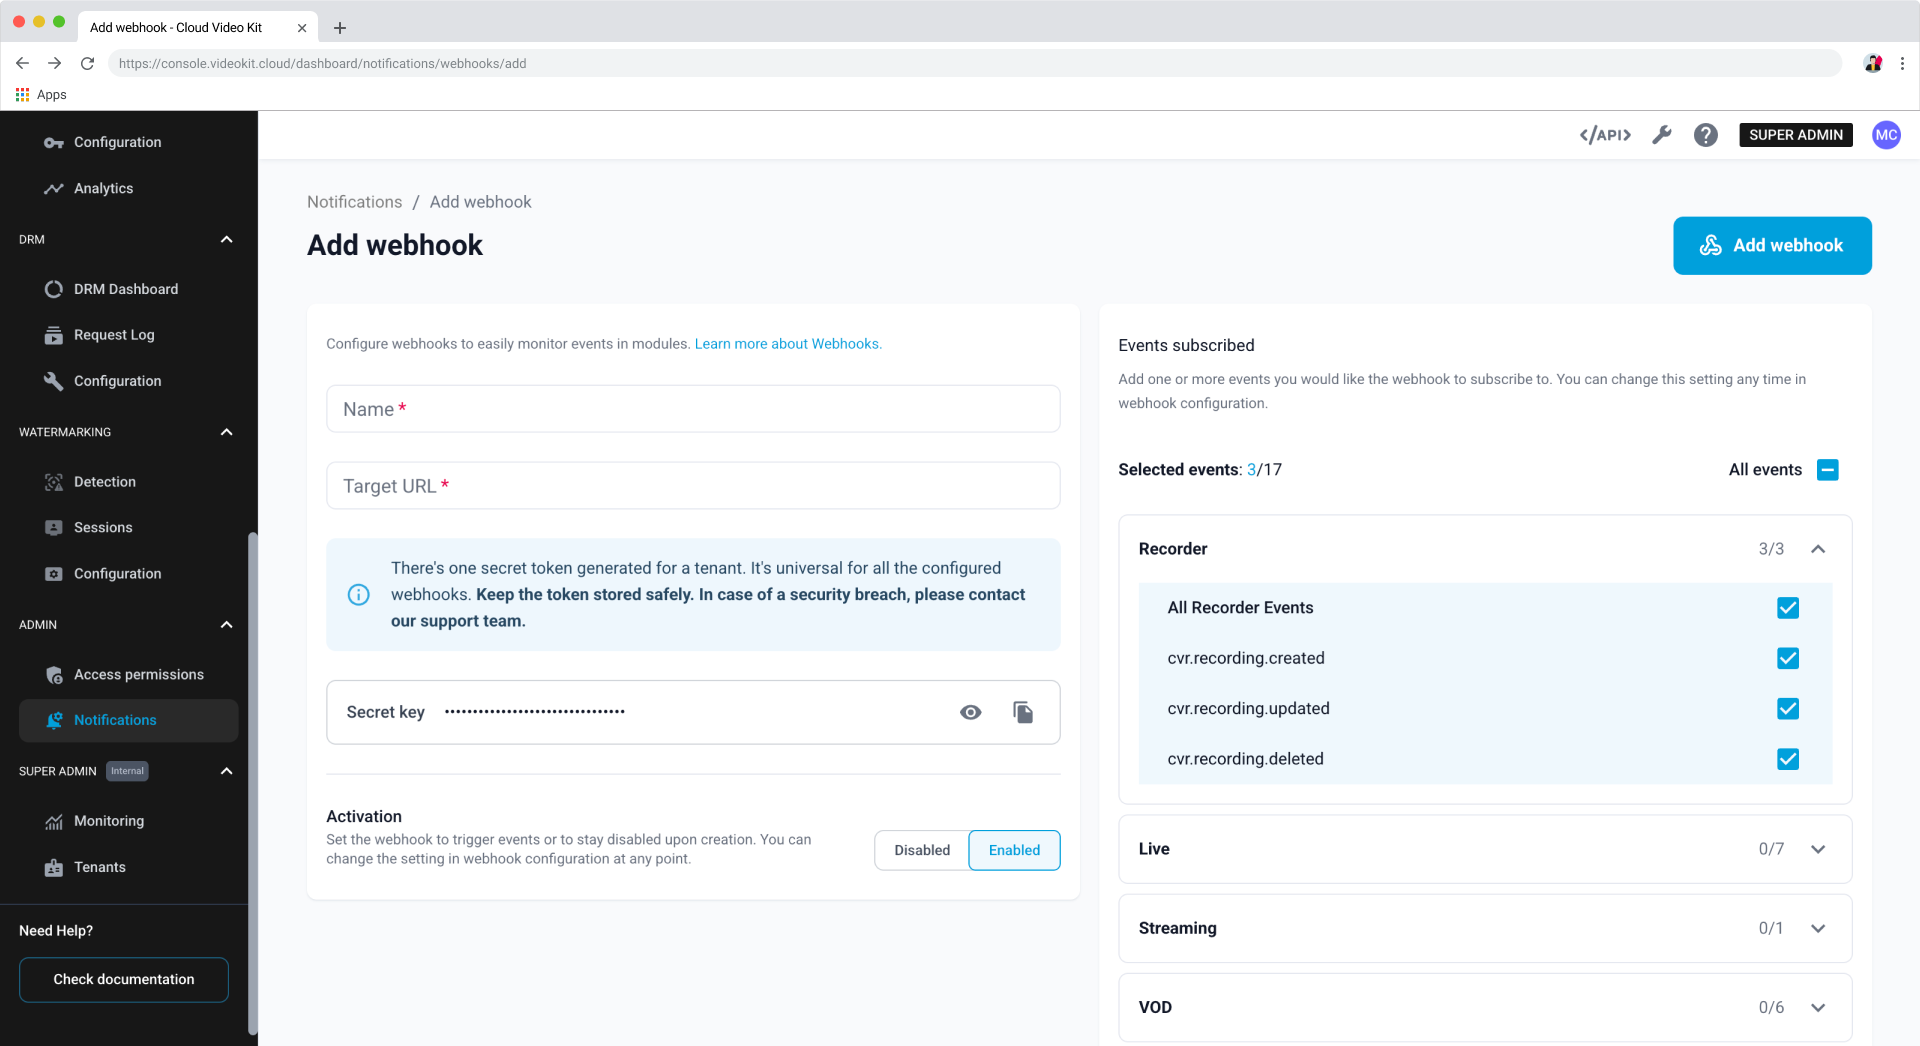
- Click Add webhook to save your new webhook.
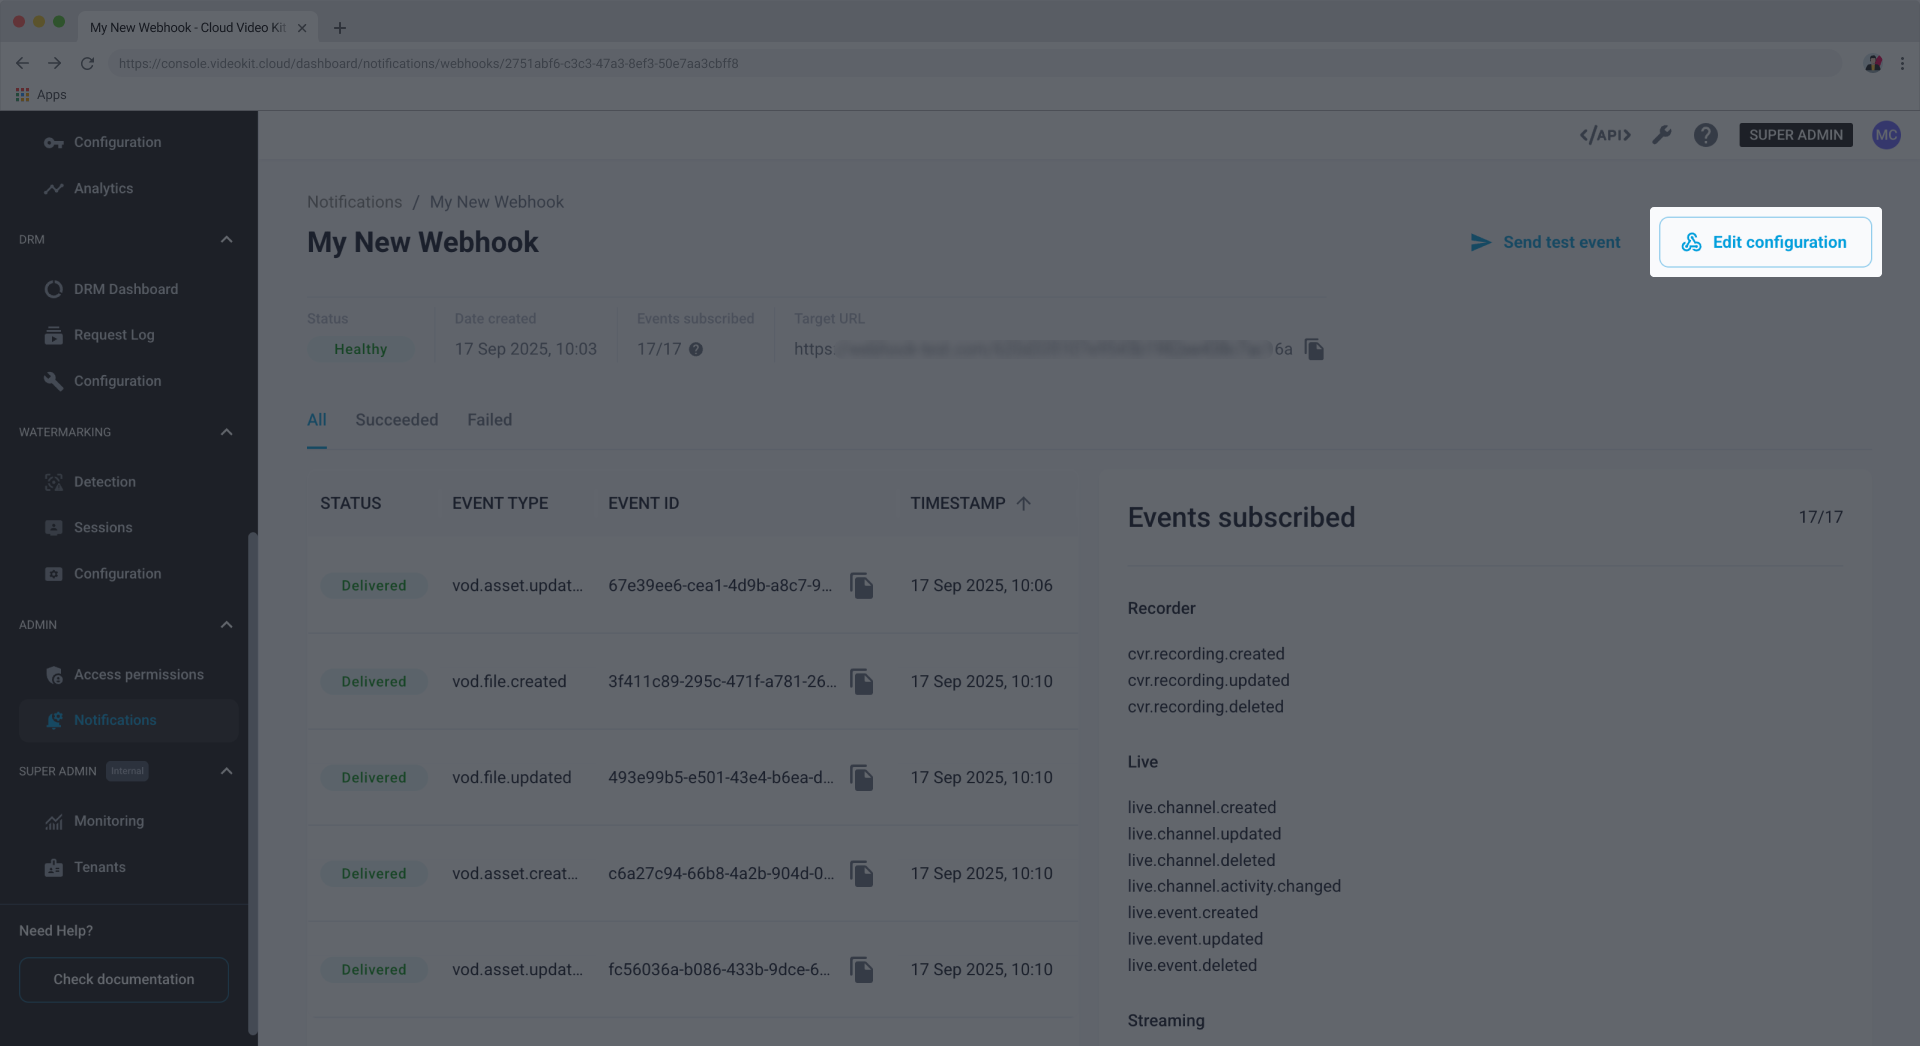
Viewing webhook details
You can preview your webhook's details, check the status of recent events, and send a test event.
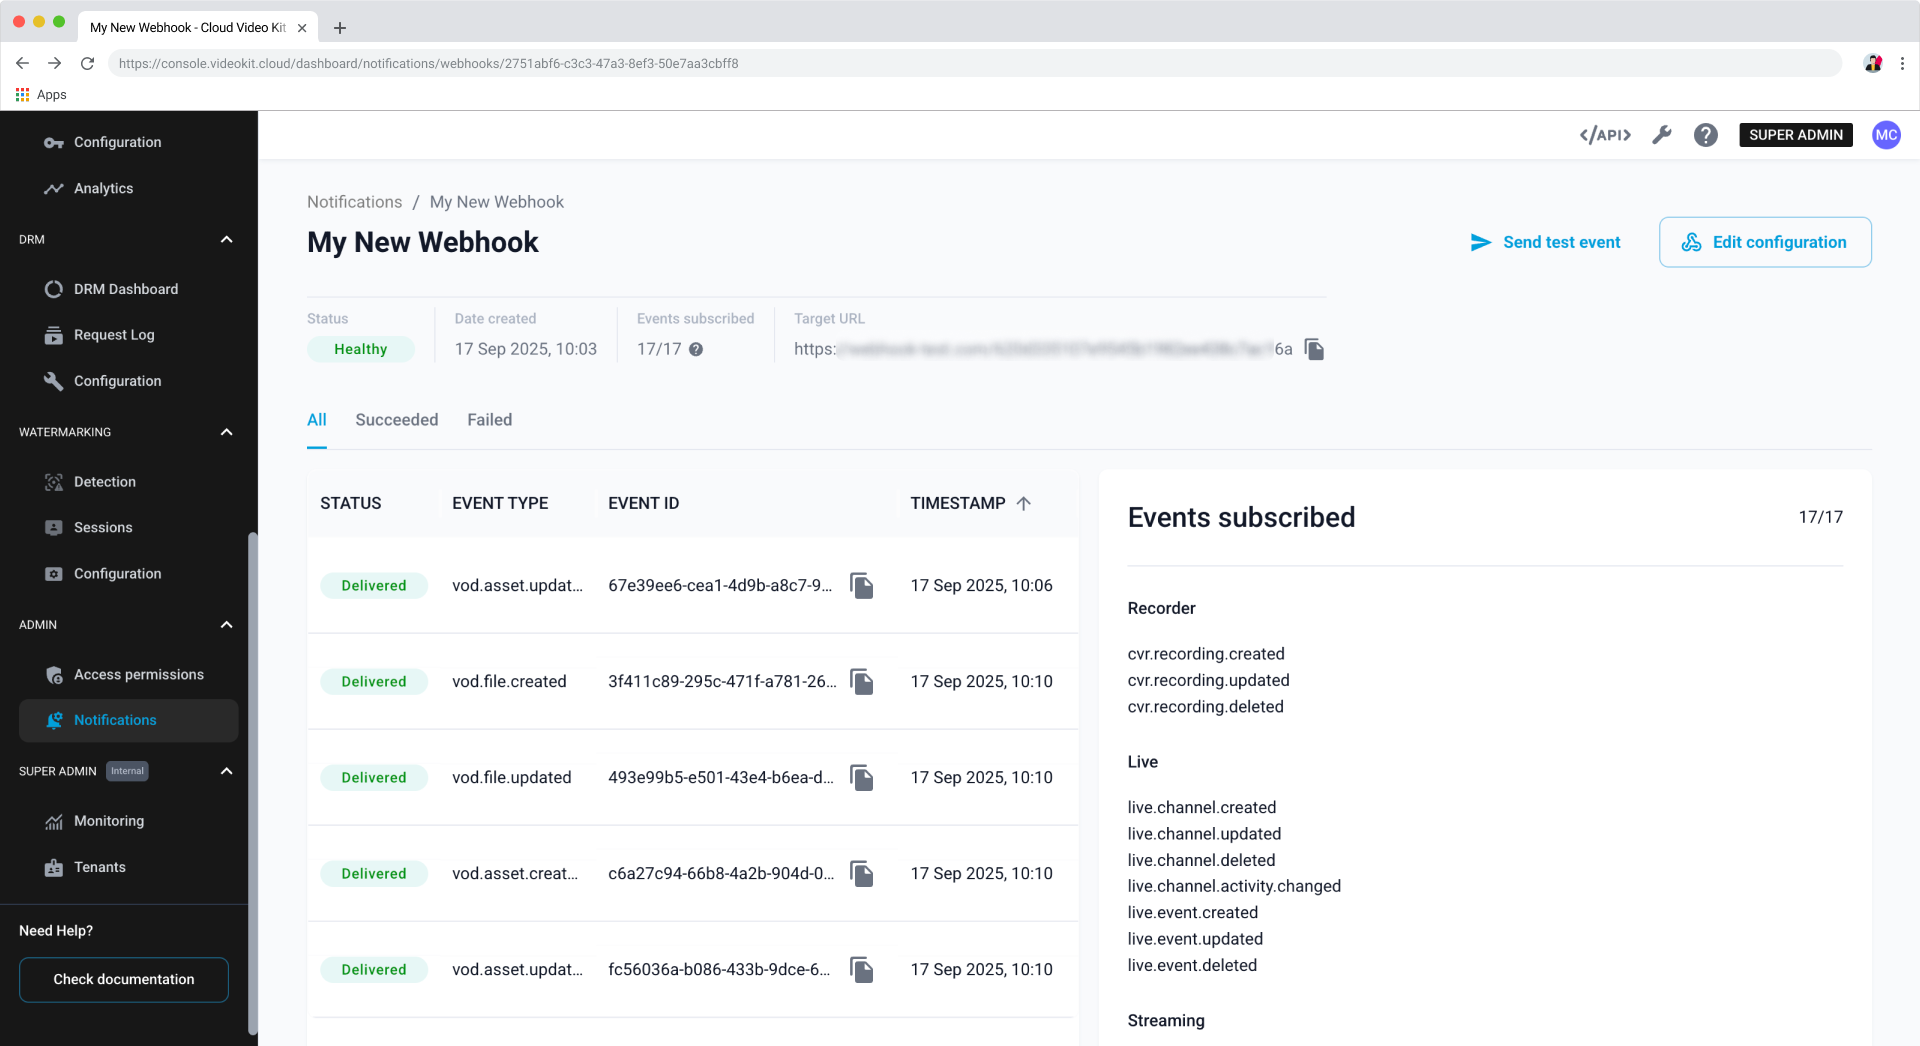
Previewing event responses
You can view the list of sent events and preview their responses.
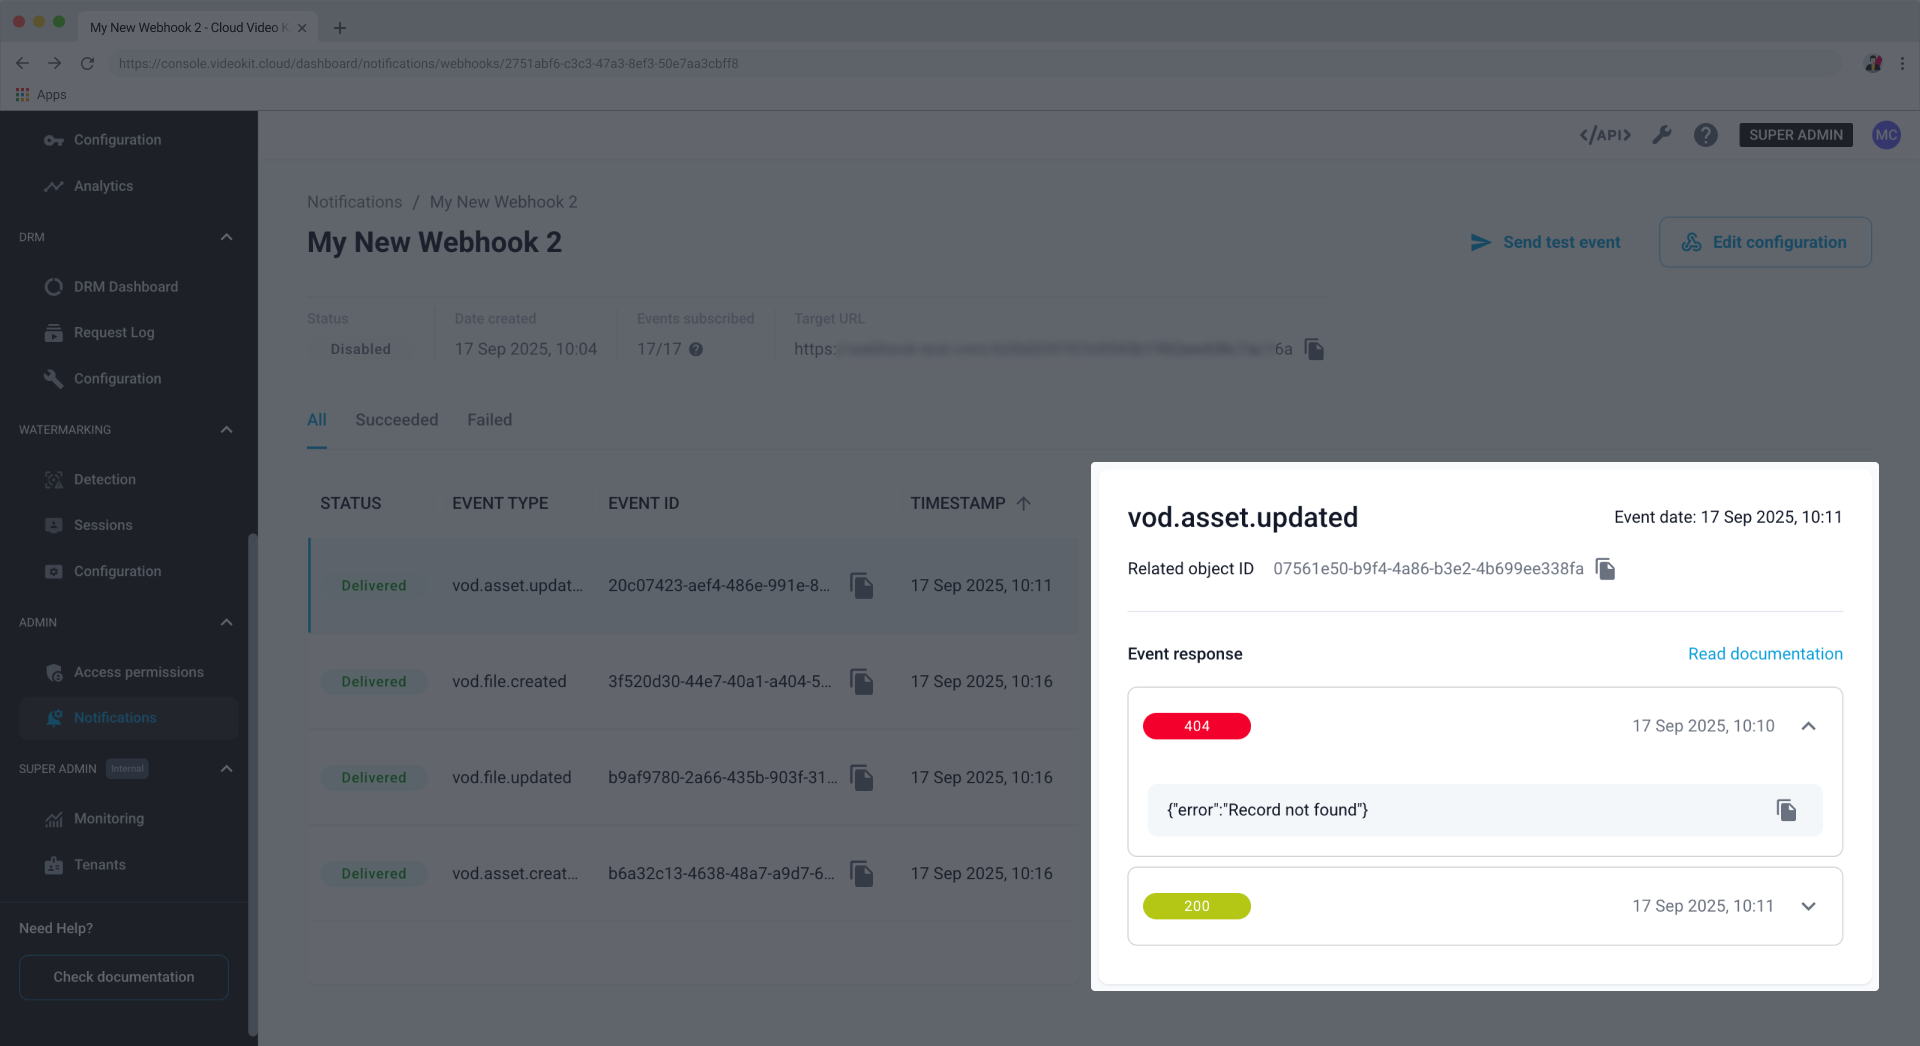
The list of recent events shows only the last five successful and five failed deliveries.
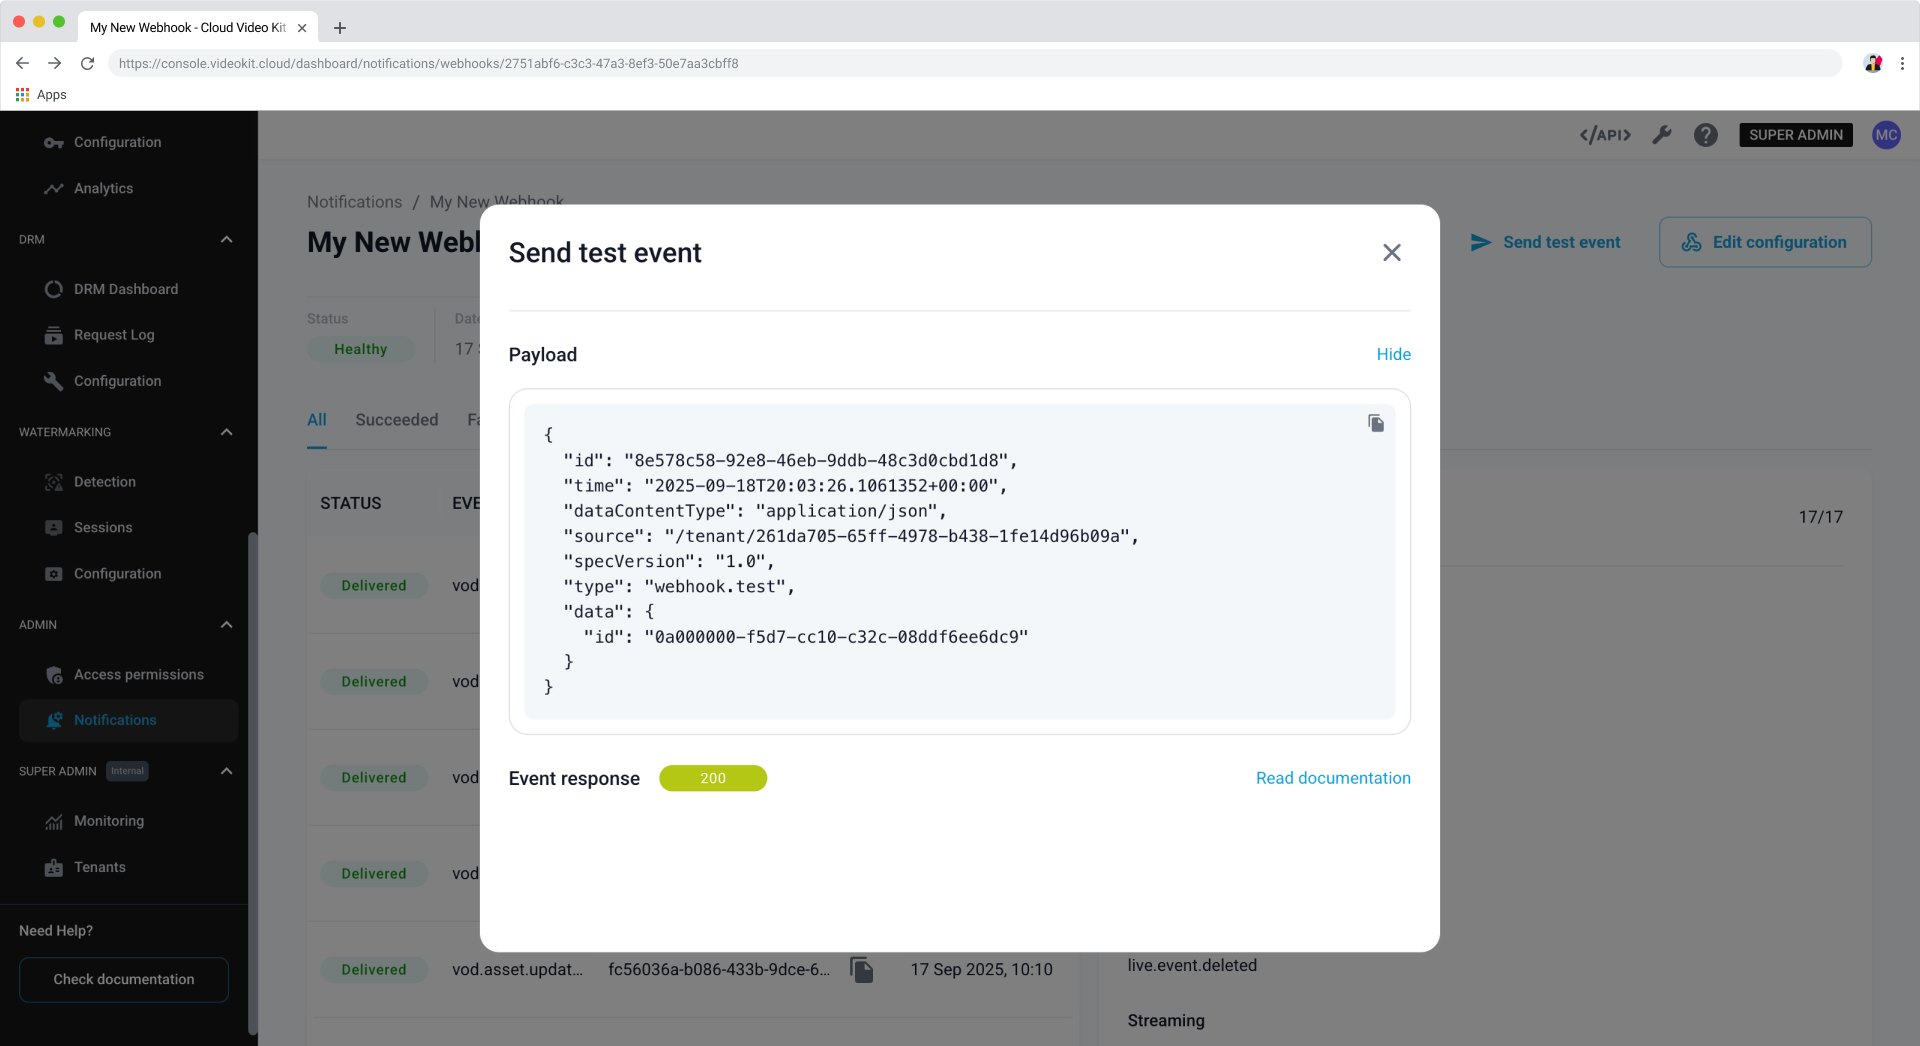
Sending a test event
Click Send test event in the top-right corner.
The opened modal window shows the payload that was sent and the response from your Target URL.
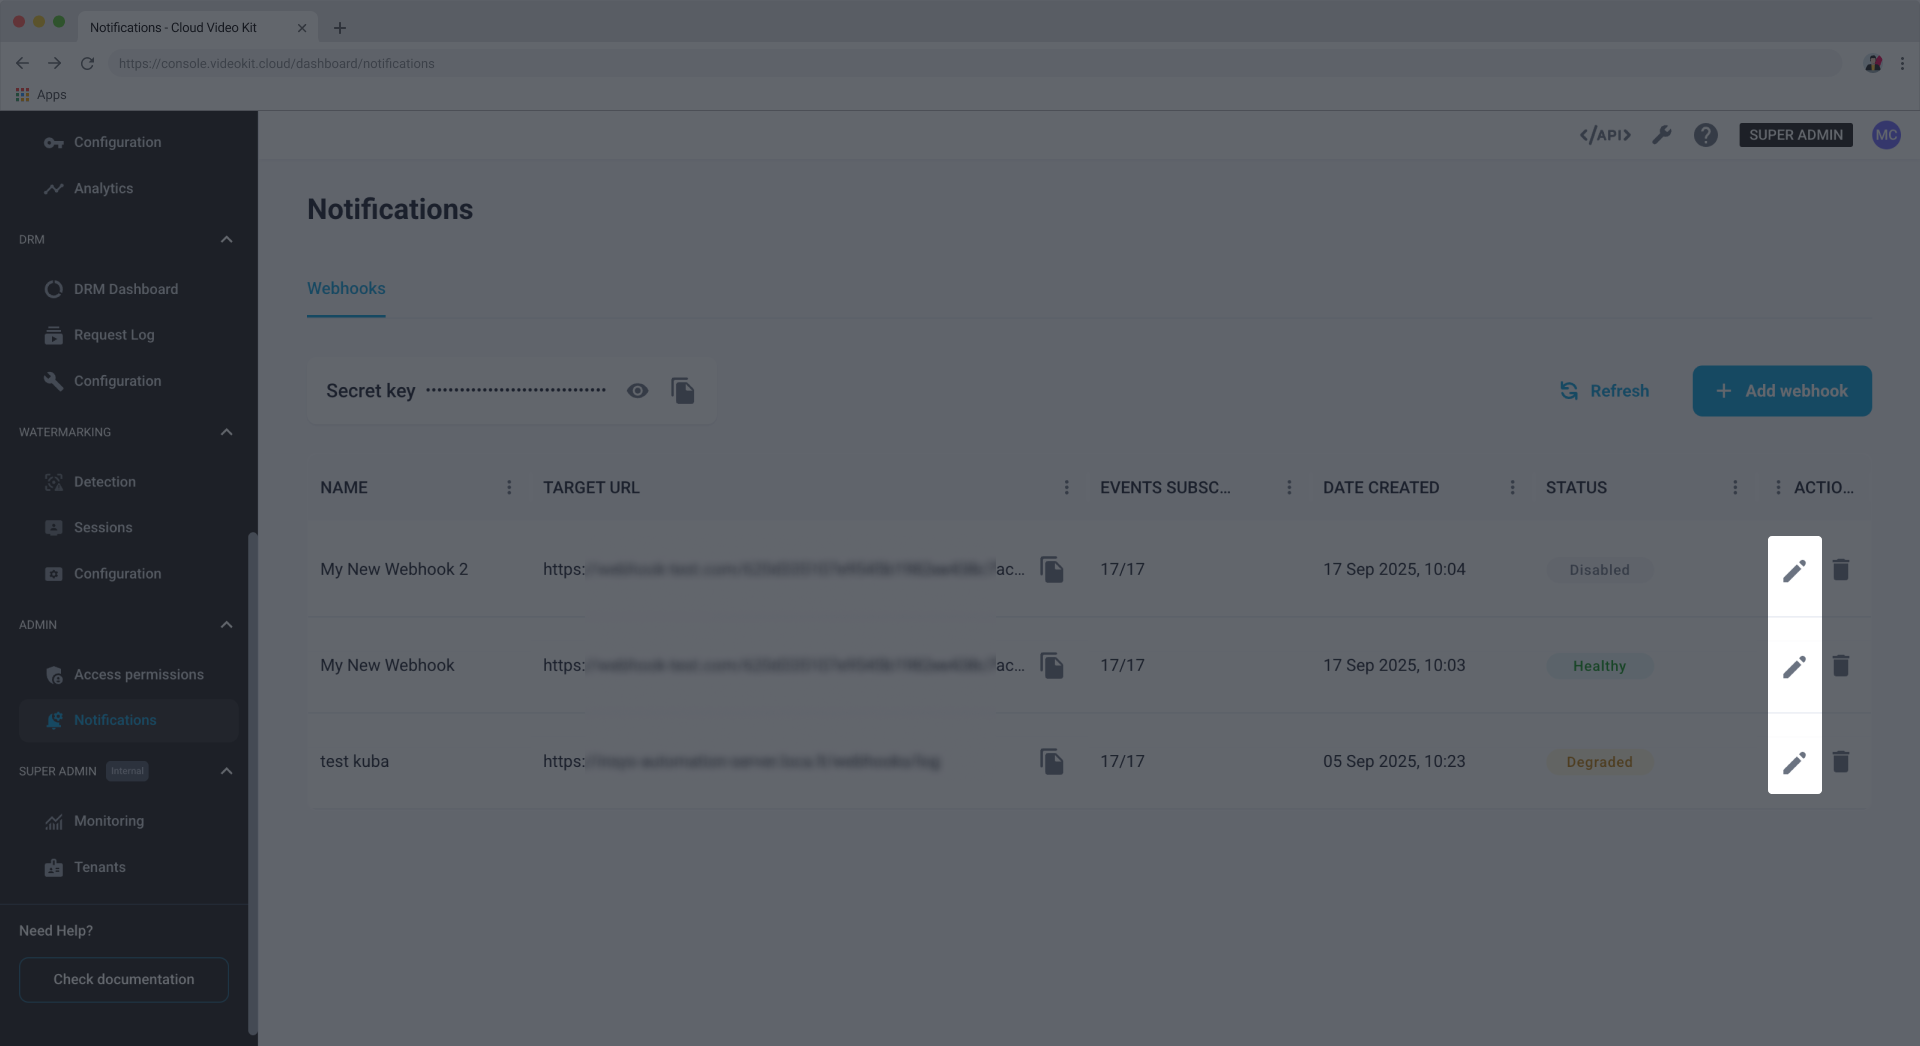
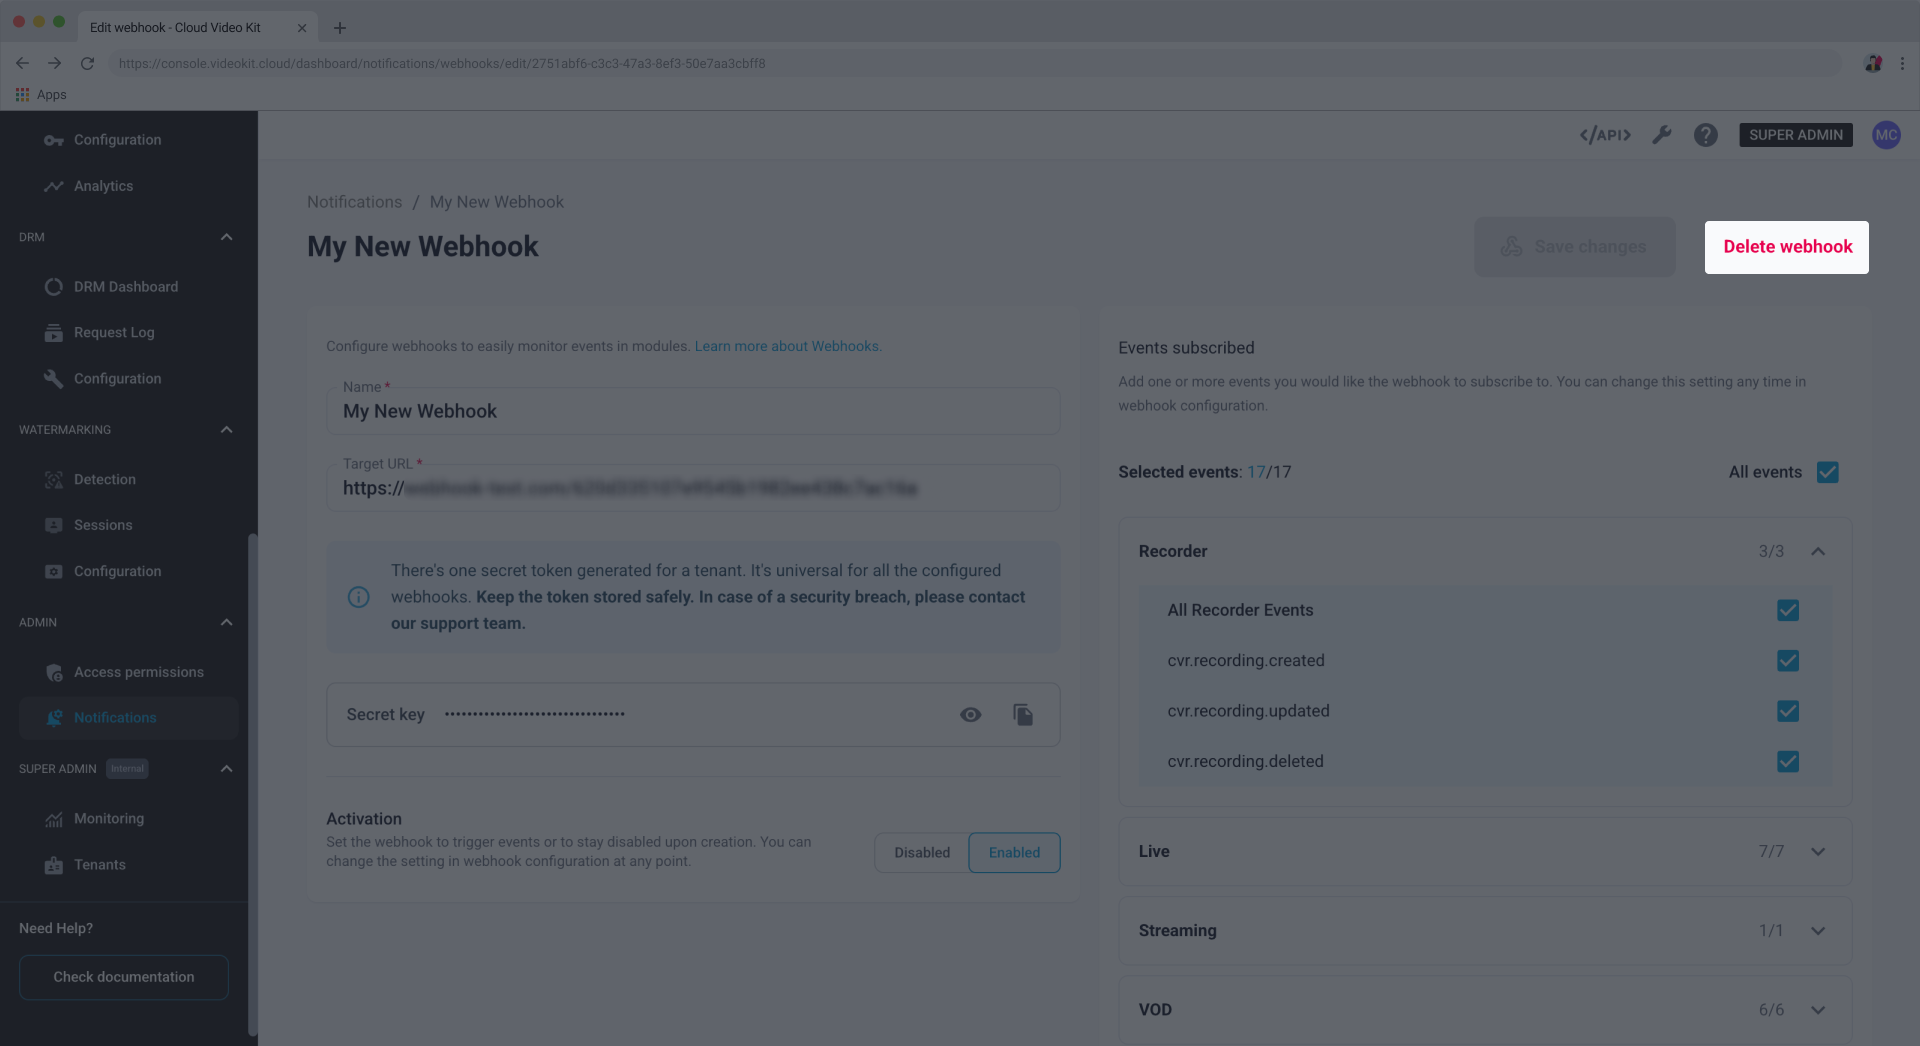
Editing a webhook
You can change a webhook's name, target URL, activation status, or subscribed events at any time.
- Find the webhook you want to edit and click the pencil icon in the Actions column.
- Click Edit configuration in the top-right corner.
- Change the configuration parameters as needed.
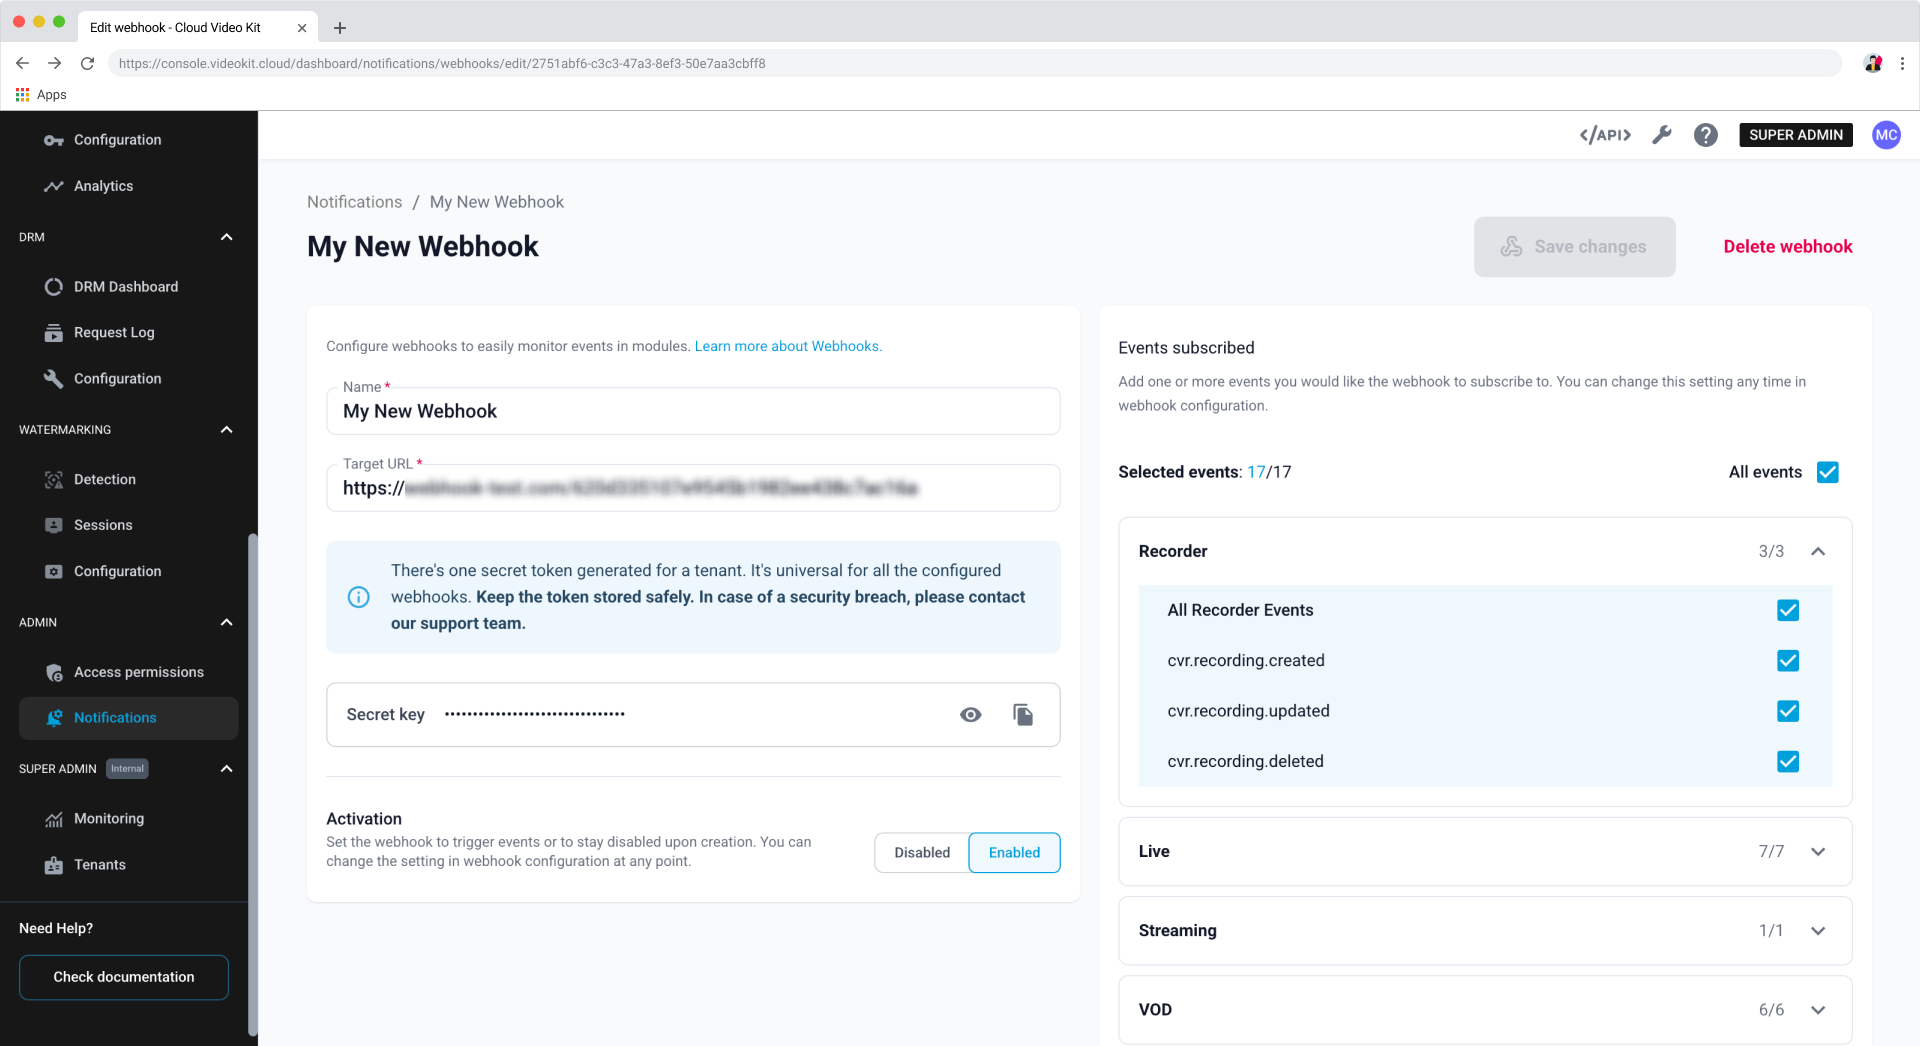
- Click Save changes.
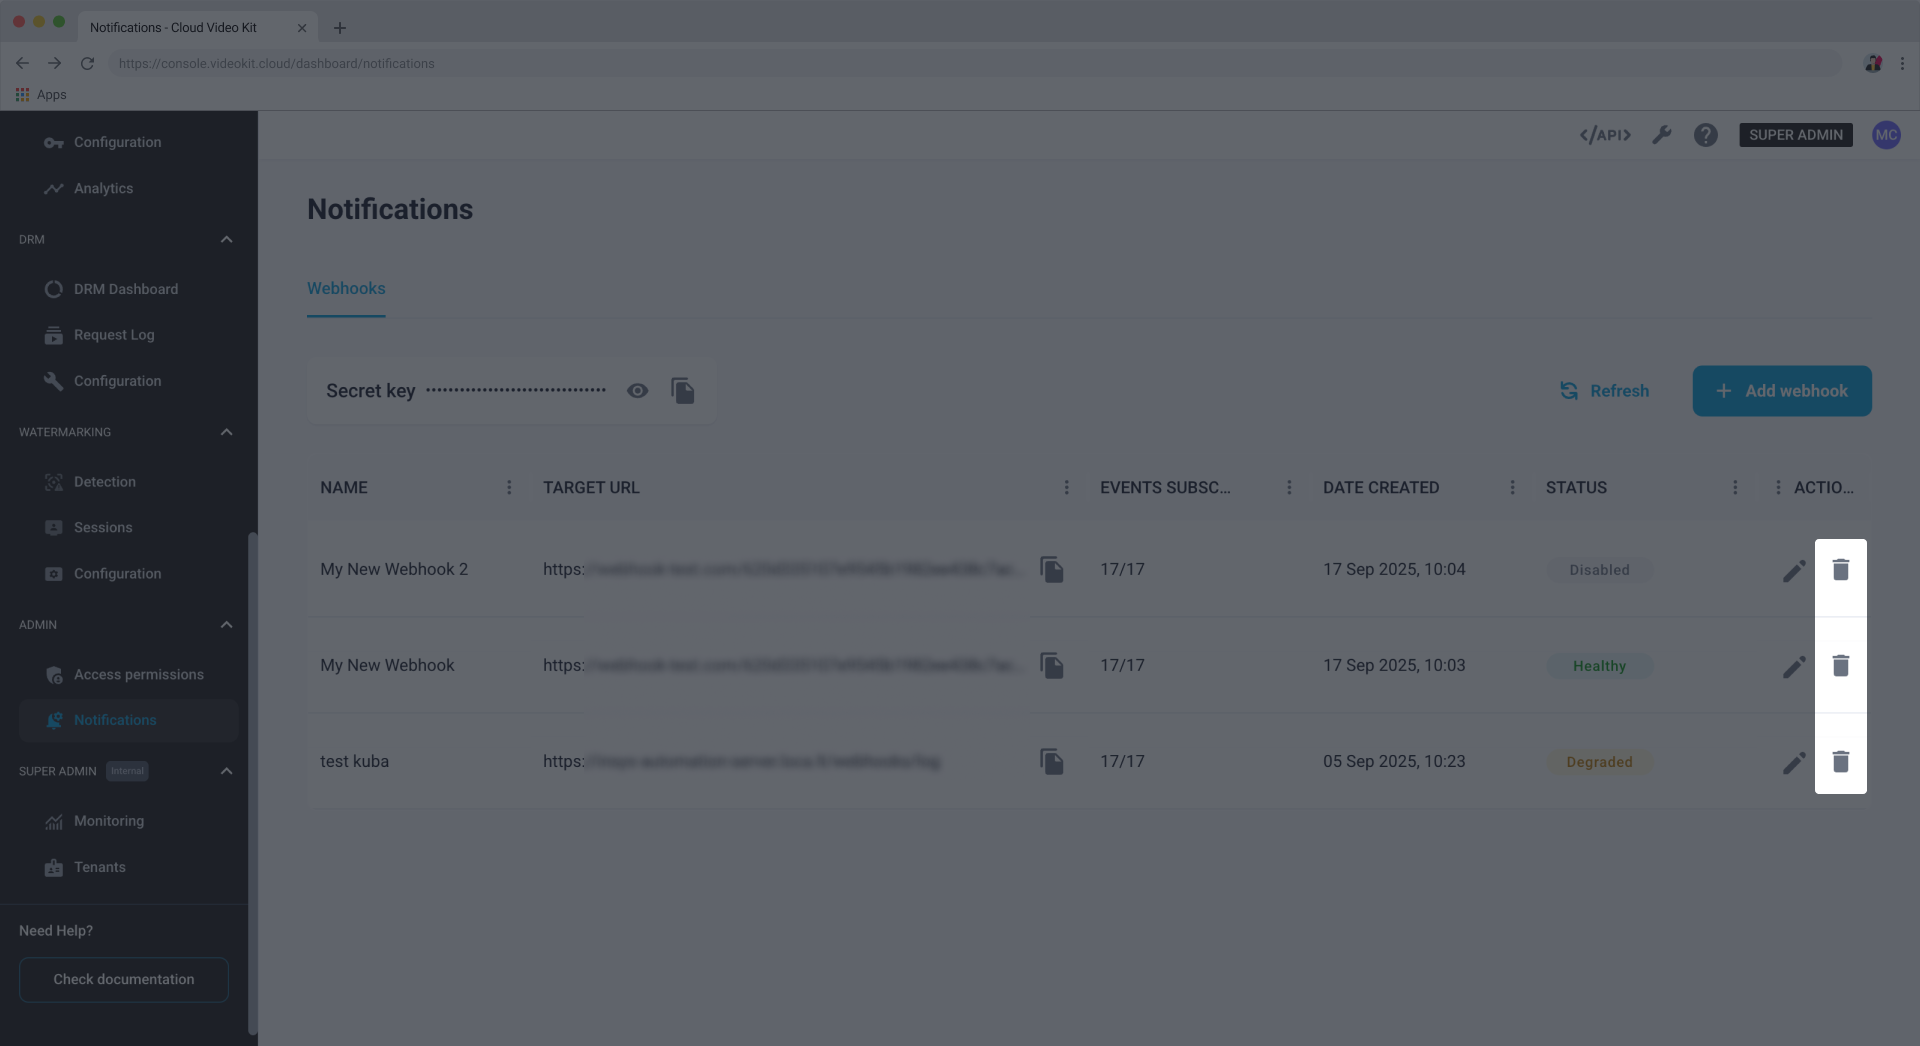
Deleting a webhook
If you no longer need a webhook, you can permanently remove it.
You can delete a webhook in two ways:
- From the list view: Click the trash can icon in the Actions column next to the webhook you want to delete.
- From the edit view: Click the pencil icon to open the edit page, then click Delete webhook.
Configuration parameters
Here's a list of the parameters you can set when you create or edit a webhook.
Name
A user-friendly name to help you identify the webhook in the list.
Target URL
The endpoint URL where your event notifications will be sent. This is the address of the external service that will listen for the webhooks.
Activation
Determines if the webhook is active. You can change this setting at any time.
- Enabled: The webhook is active and will send notifications for subscribed events.
- Disabled: The webhook is inactive and won't send any notifications.
Events subscribed
This section allows you to choose which specific events will trigger a notification. You can subscribe to:
- Individual events by selecting the checkbox next to the event name (for example,
cvr.recording.created). - All events within a module by selecting the checkbox next to the module name (for example, All Recorder Events).
- All available events across all modules by selecting the checkbox next to All events.