Transcode uploaded files
Transcoding
In most OTT scenarios uploaded files need to be transcoded to adaptive streaming format before they are delivered to end-users. Cloud Video Kit allows transcoding a source file into different Output profiles, depending on the use-case scenario.
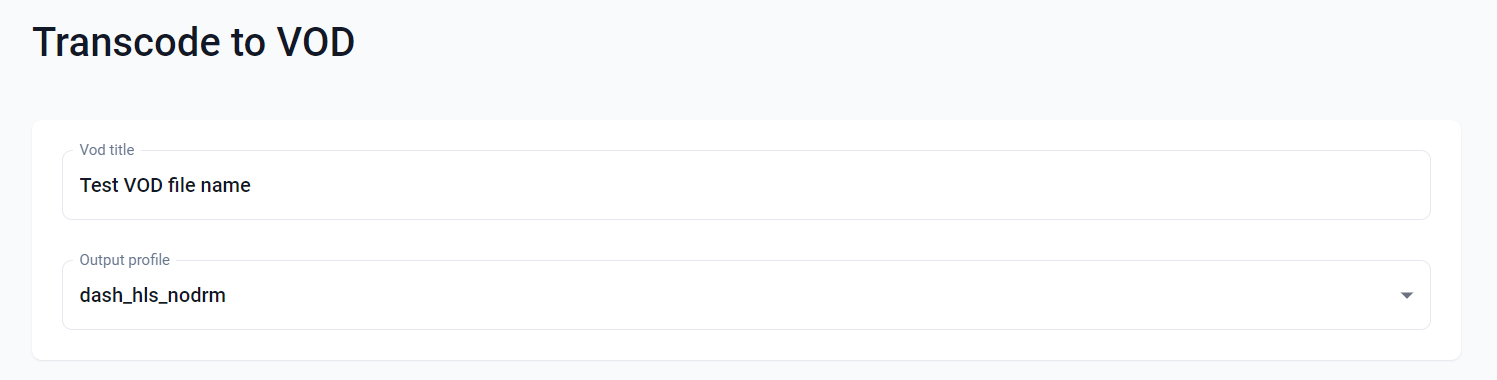
Create VOD from source files
Before you select the source files, give a VOD file you are about to create a title (name). Then select the Output profile from the dropdown list.Output profile is a configuration of the transcoding process that selected source files will undergo. Examples of Output profiles:
- HLS (SD+HD+FHD)
- HLS + MPEG_Dash + DRM
- MP4
Output profiles are configured per each tenant and can be changed only by the Big Blue Marble administrator. To add or change available Output profiles, please contact Big Blue Marble.
Select files
The transcoding process requires 1 Video file and from 0 up to 8 Audio and Caption (subtitles) files.
Video
The dropdown list in the Video section will display all video type files you have previously uploaded. You can start typing the title of a desired file to narrow down the list of suggestions. Please select one file from the list. The selected video file may have audio and/or caption tracks included in the file. After selecting the video file the first audio track will appear in the Audio section below. Please select the language code for this track.
⚠️ Transcoding process will erase all audio tracks except the first one from the source video file. All caption tracks will also be deleted in the process. Please bear it in mind when you add a video file that has more audio/caption tracks.
📄 A list of audio and caption languages is configured per tenant. To change the list please contact Big Blue Marble.
Audio & Caption
Adding audio & caption is optional. Each audio track may have language metadata attached. You can change the language code associated with the selected, as well as preloaded audio tracks.
📄 A list of audio and caption languages is configured per each tenant. To change the list, please contact Big Blue Marble.
To add a new audio track or captions please click Add Audio or Add Caption. In the dropdown list, you will see all the uploaded files of audio or text type. Narrow down the list by typing the name of the desired file. Then, select a language code for the selected audio/caption track.
If you can’t add more Audio/Caption tracks, it can be caused by the fact that you used all the language codes configured for your tenant. If your tenant has only 1 language configured, you will not be able to add audio tracks as you already have one audio track in the source video. There can’t be more than 1 track with the same language code.
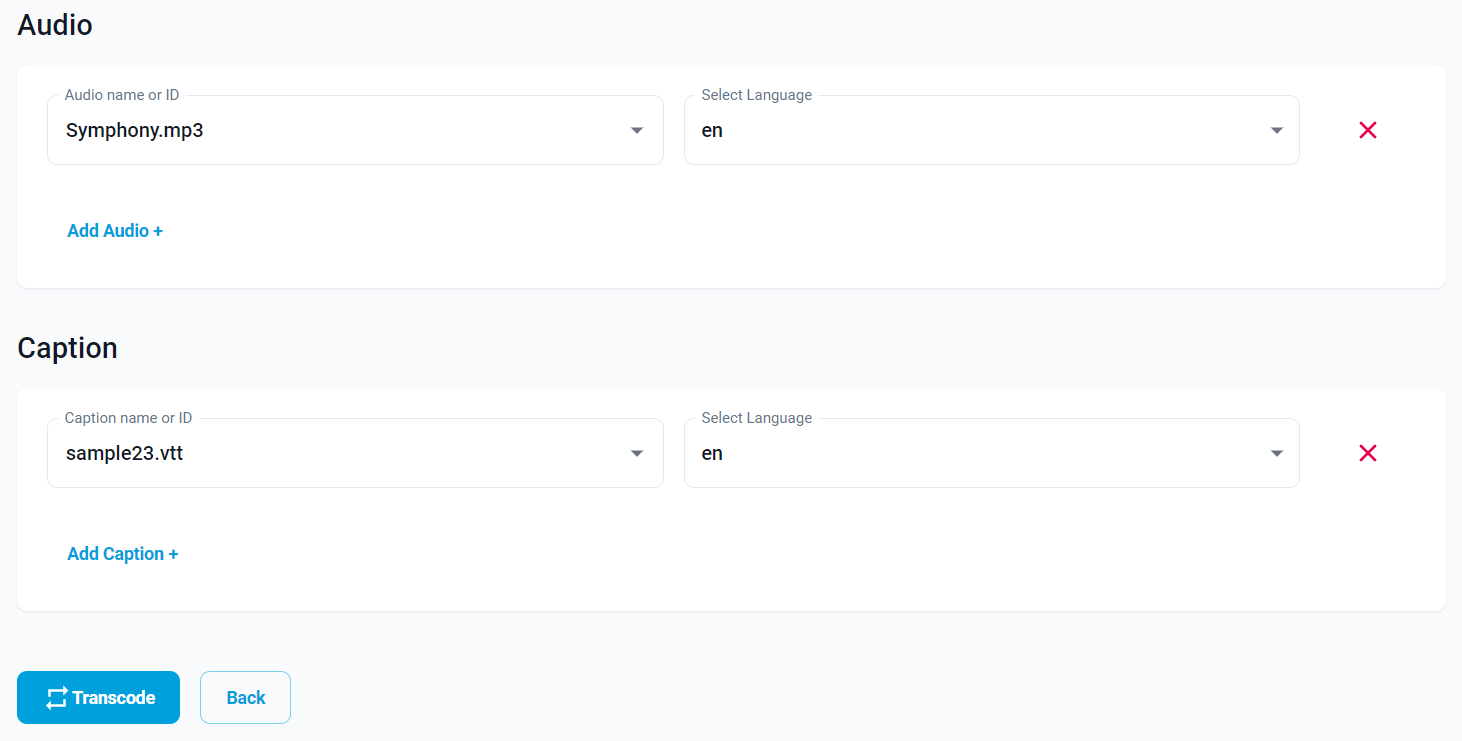
Once you have finished putting together all the components of your VOD asset, click the Transcode button. The navigation will take you to the VOD library page. You can check the transcoding progress by looking at the status column in the VOD assets table.